How to install Symantec EndPoint Protection on MacOS
- Get the installer from the Campus Software Library. Log in with your NetID to view available software. Download the Symantec AntiVirus installer.
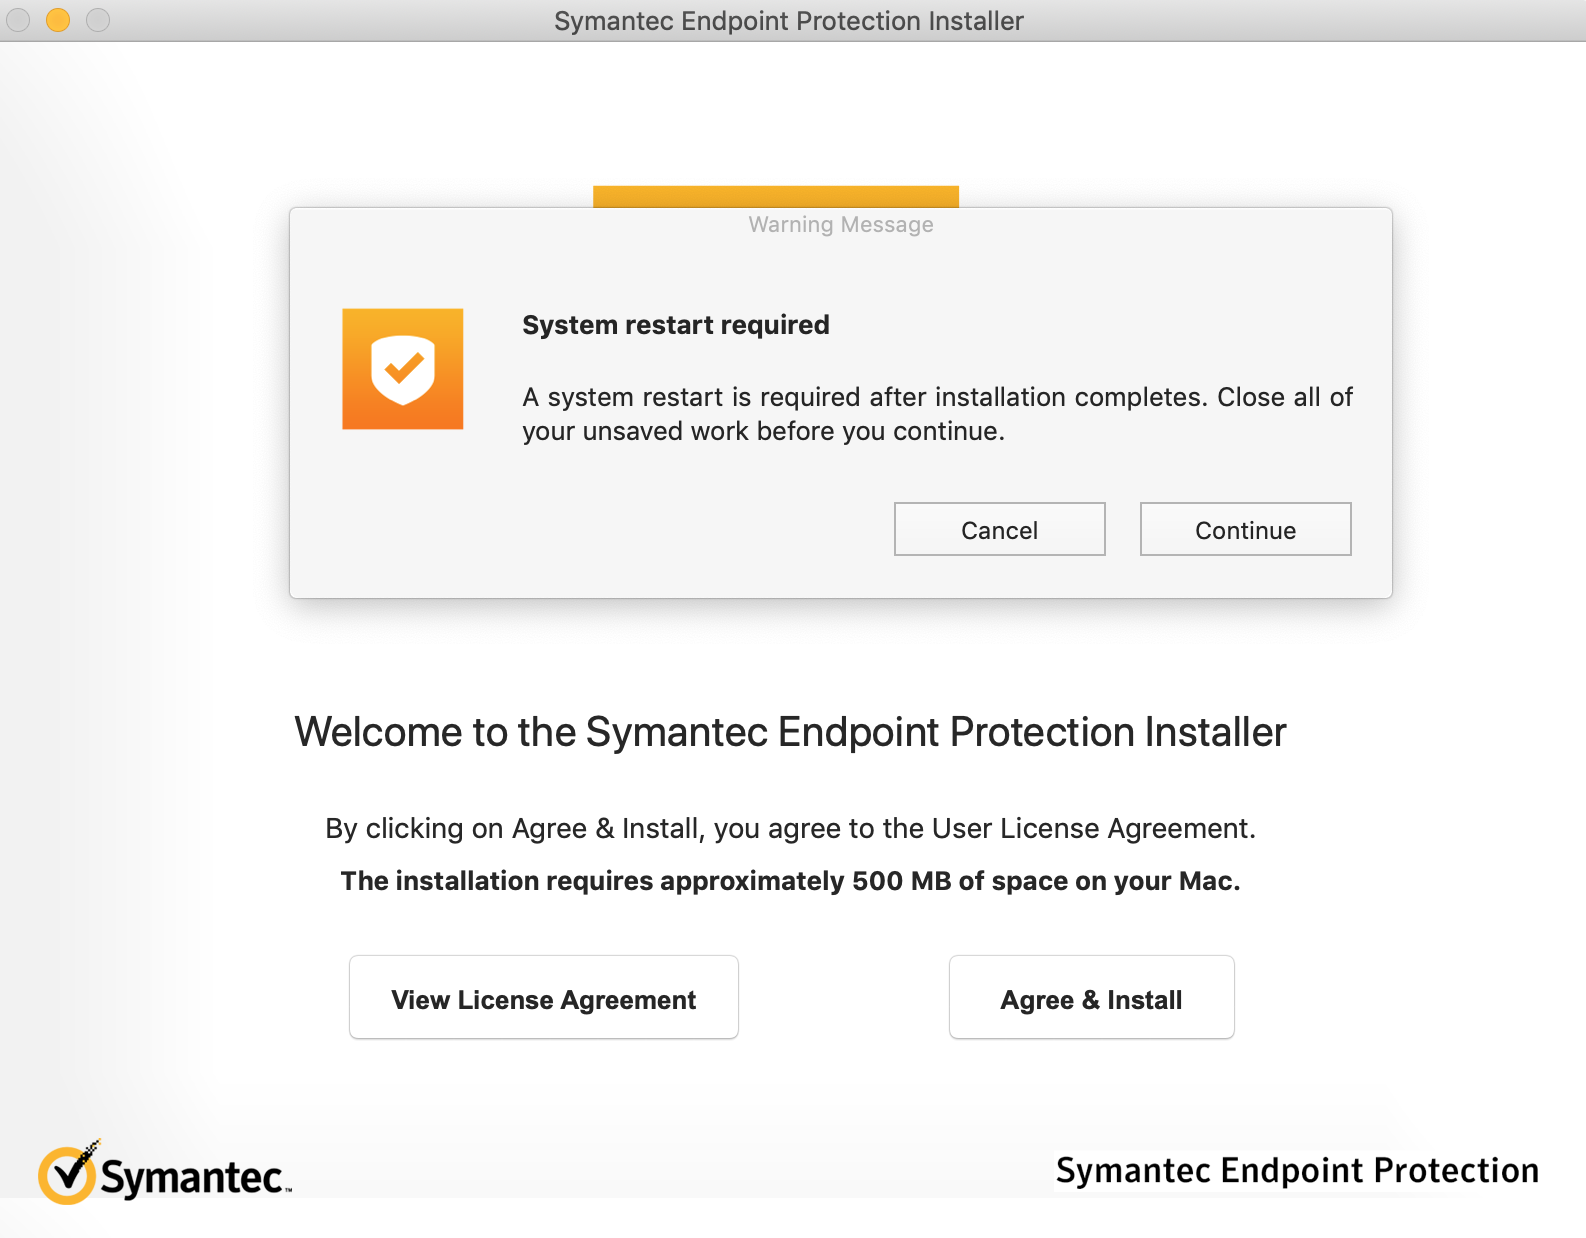
- Run the installer (requires local admin privileges). The installer notifies you that the install process will require a restart. Choose Continue and then view the license agreement if you would like. When you are ready, choose Agree and Install. You will be prompted to enter your local admin credentials. The installer will display a progress bar while it installs components.
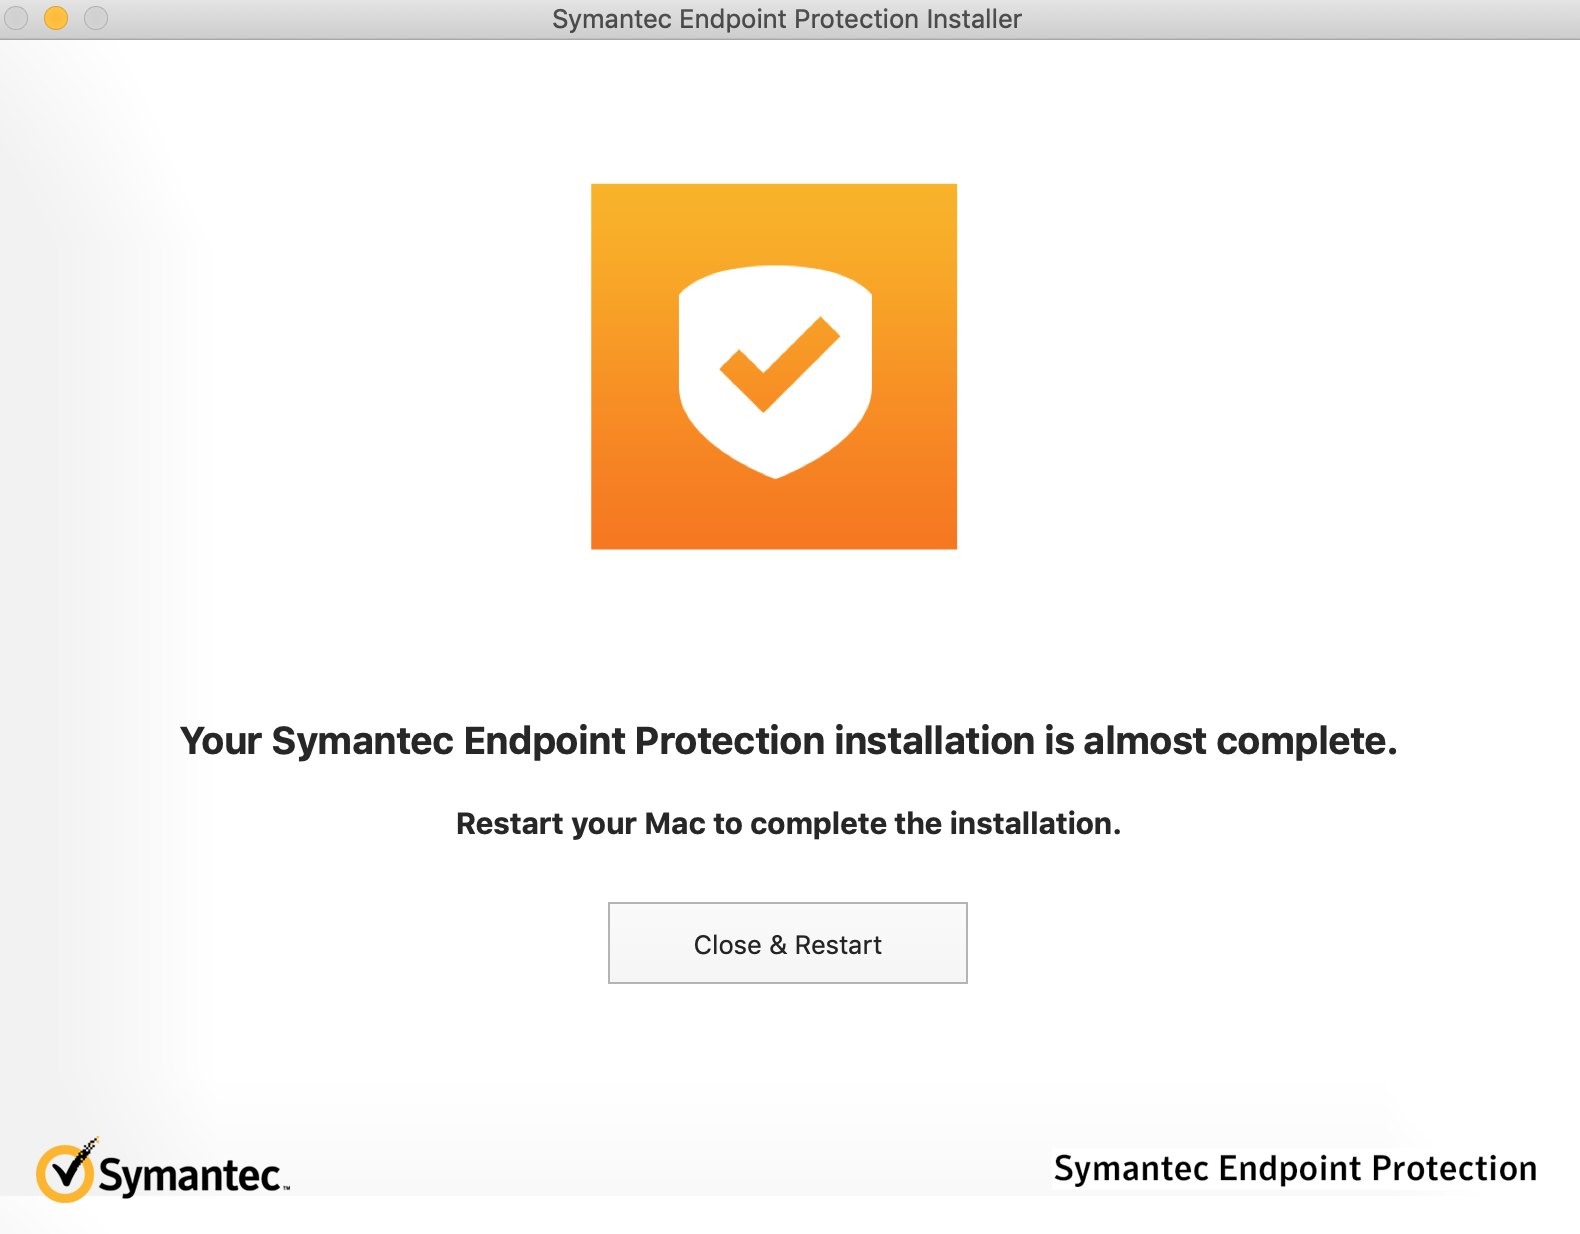
- When the installer finishes, you will be prompted to Close & Restart. Be sure to save any work you have open then click Close & Restart. When the machine reboots, Symantec will run in the background automatically.
Live Update
Symantec EndPoint Protection enables Live Update by default. You should not change this setting as this is what keeps the virus definitions up-to-date. By default, the program will check for updates every four hours. If you want to manually run the update tool, you can do so by clicking the Symantec icon in the menu bar and selecting LiveUpdate.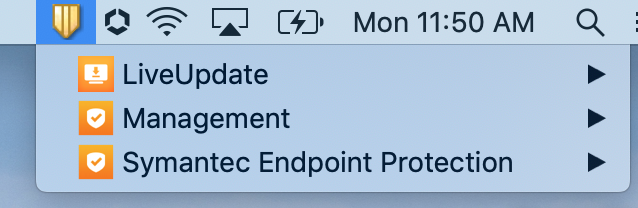
The program will check for updates.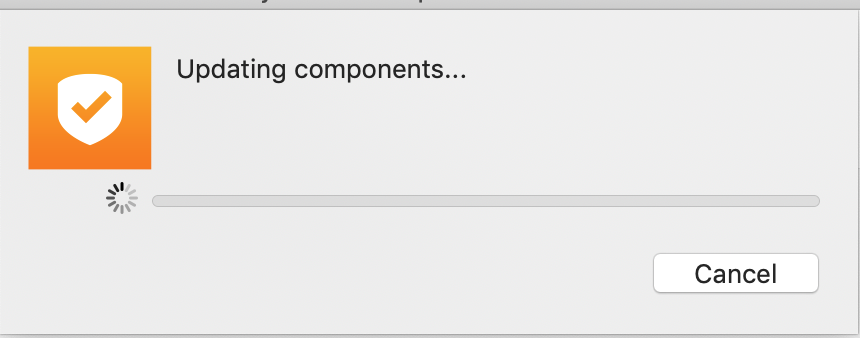
It will then show you the updates installed.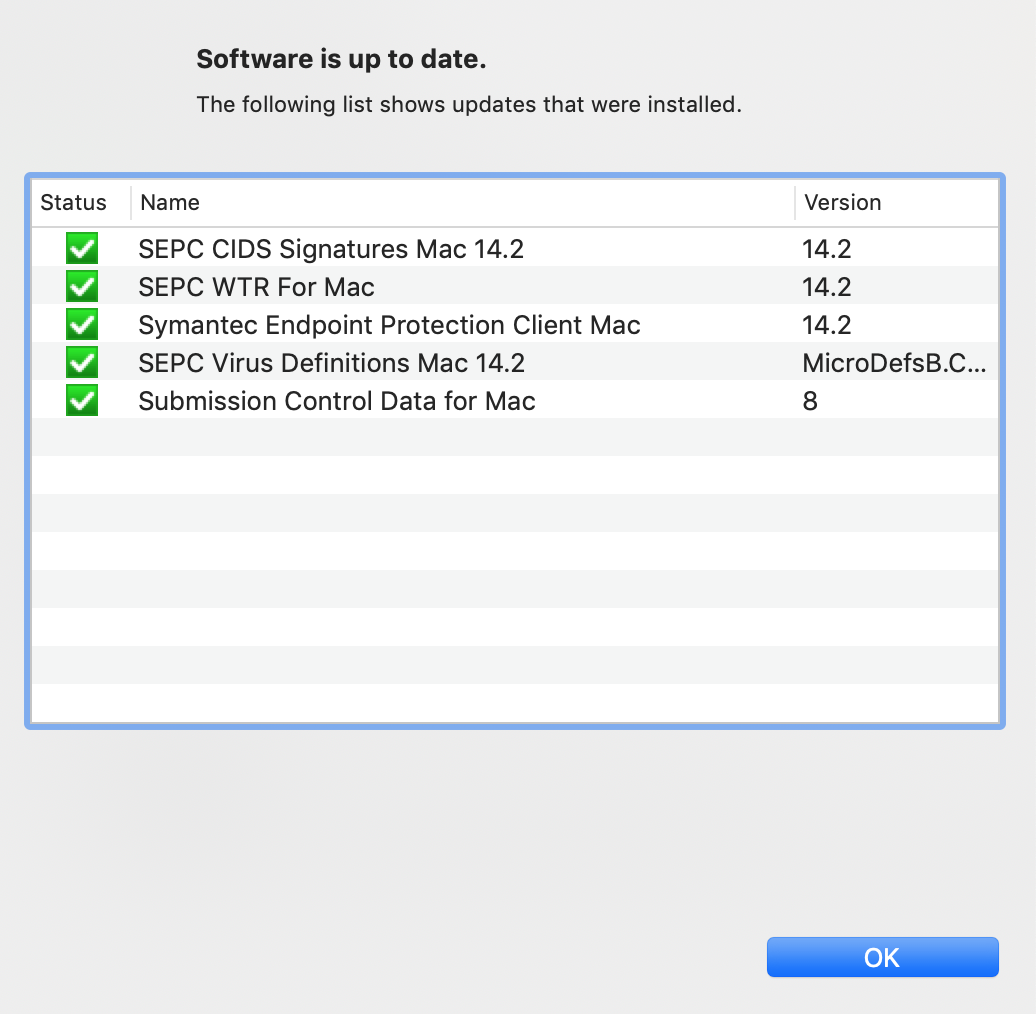
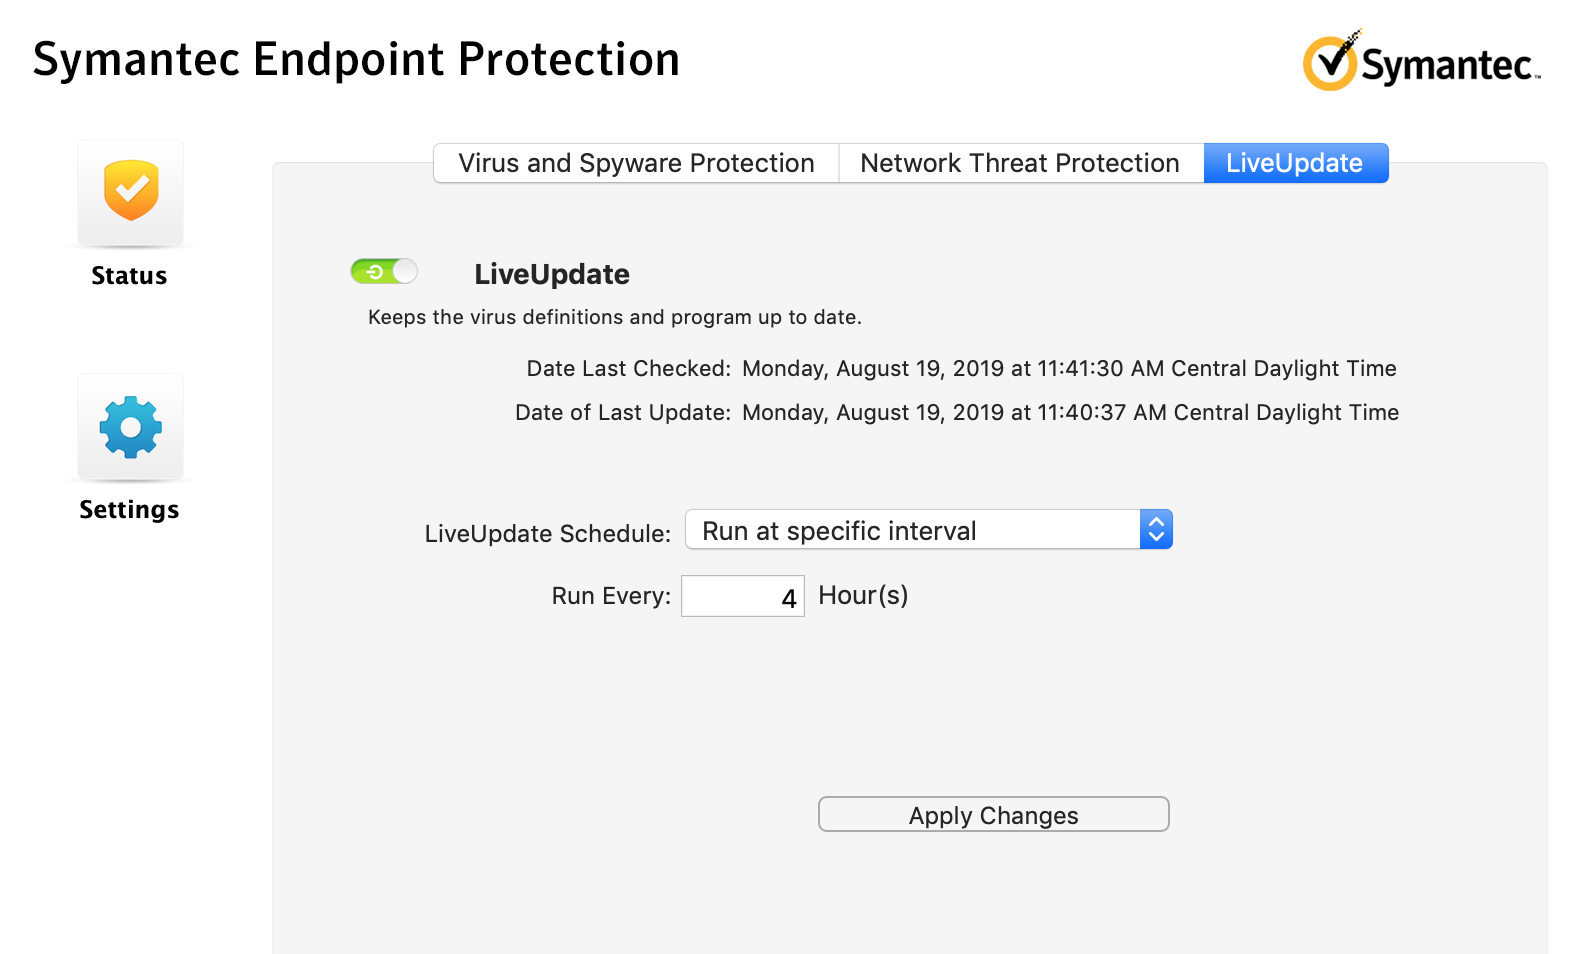
To change the update schedule, click the Symantec icon in the menu bar, select Symantec Endpoint Protection, then select Open Symantec Endpoint Protection.
Click Settings then choose the LiveUpdate tab. You can adjust the schedule with the available settings.
Run a Scan
To run a virus scan, open Symantec Endpoint Protection by clicking the icon in menu bar, selecting Symantec Endpoint Protection, and selecting Open Symantec Endpoint Protection.Select Status then click the scan drop-down menu in the bottom-right. Choose Run full scan to scan the whole file system, or choose Run custom scan to scan a specific directory.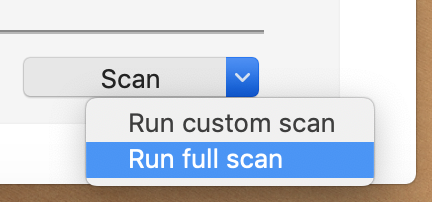
Help
Please contact the Psychiatry HelpDesk if you have any trouble installing or using this software.