Please be aware of any privacy concerns when recording a meeting. Please consult SMPH Hipaa Security policies if you are unsure of restrictions.
Record Meeting with Video Conferencing Tool
Webex
Zoom
Record Meeting With Handheld Camera
If you would like to attempt this by yourself the instructions are included below. If you’d prefer to have the IT team handle this, please contact our helpdesk.
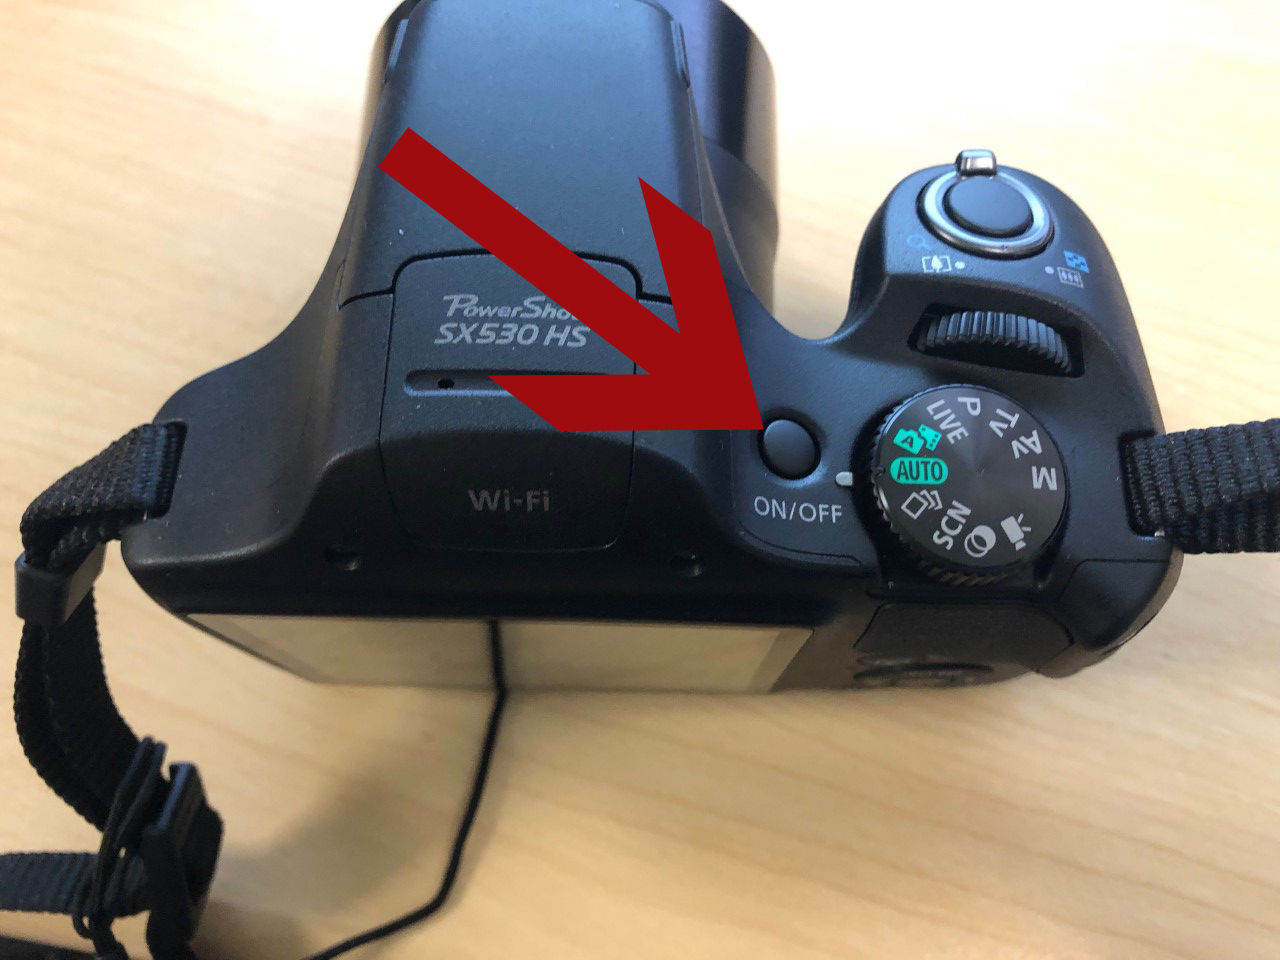
- Press the On/Off button on the top of the camera to power it on.
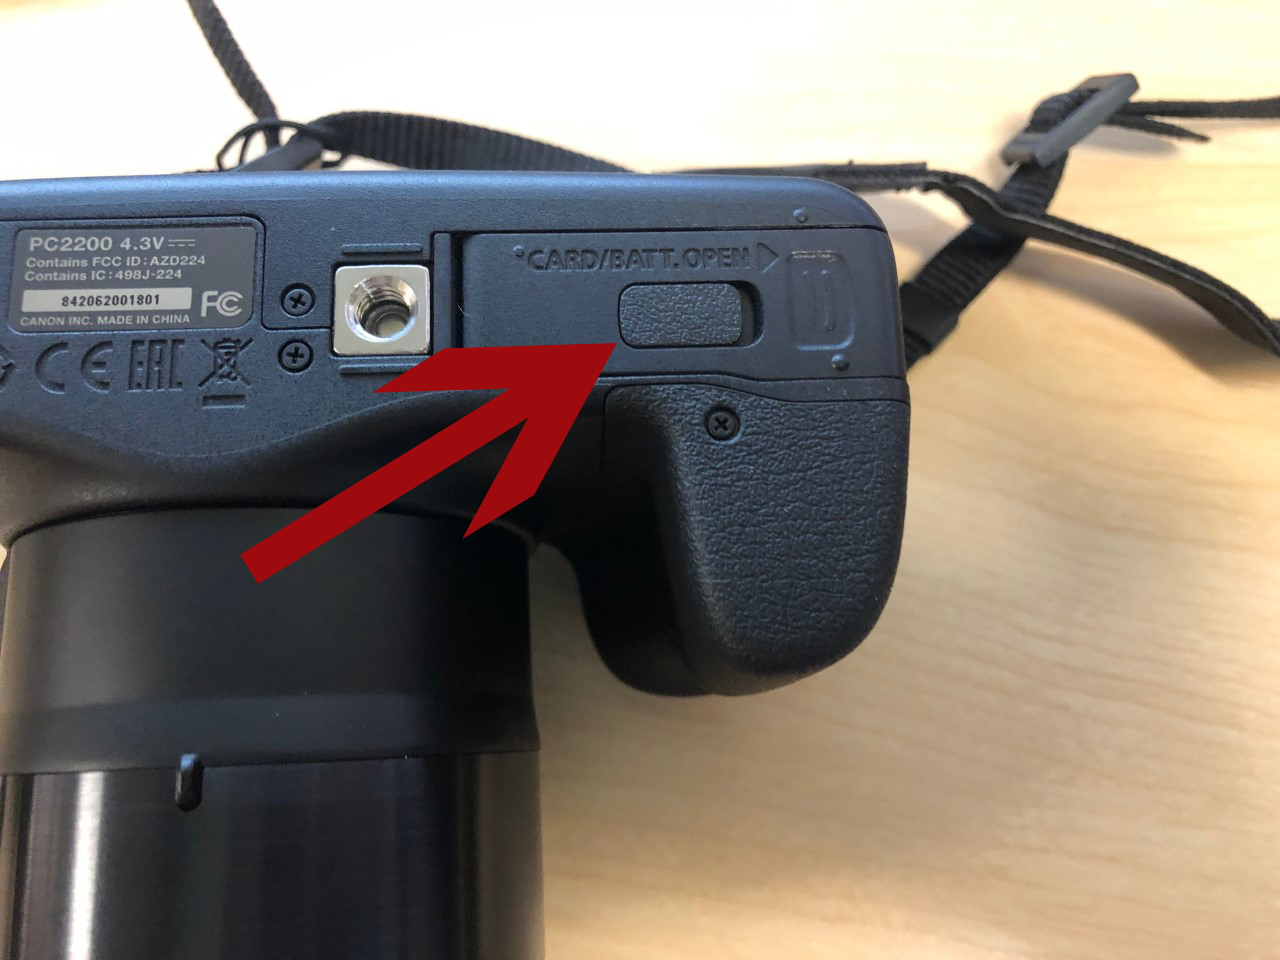
- If the camera doesn’t power on, check that the battery is inserted by flipping the camera over and opening the Card/Battery slot by sliding the plastic tab.
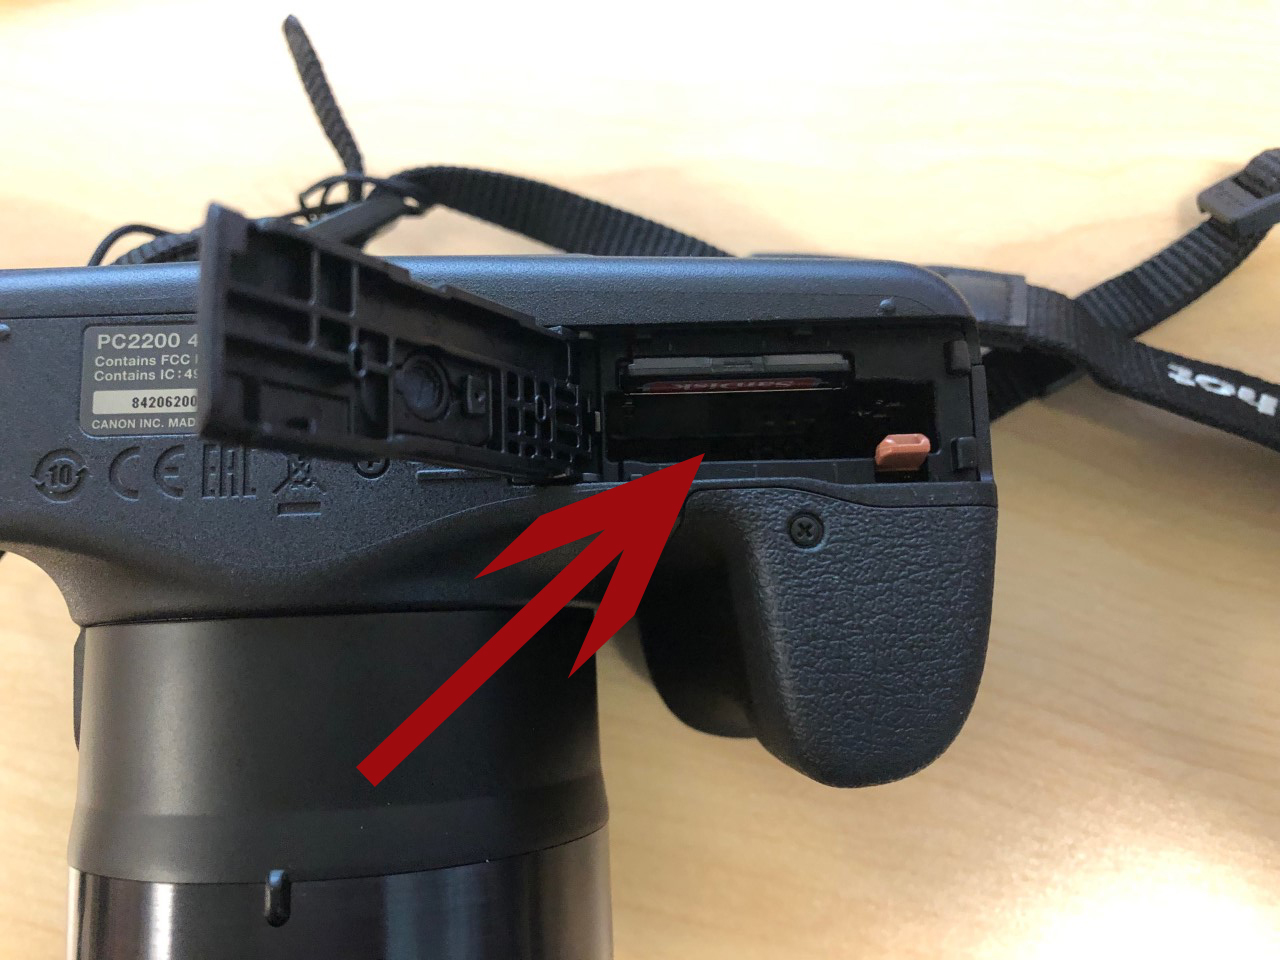
- If the battery isn’t inserted, locate it in the camera bag and insert it. If the slot isn’t closing easily, you likely have the battery oriented the wrong way. Flip it and try and close the slot again, it should close easily and without resistance.
- If it is present, the battery is dead. Remove the battery and find the charger in the the bag. Plug the battery into the charger and allow it time to charge.
- If the battery isn’t inserted, locate it in the camera bag and insert it. If the slot isn’t closing easily, you likely have the battery oriented the wrong way. Flip it and try and close the slot again, it should close easily and without resistance.
- If the camera doesn’t power on, check that the battery is inserted by flipping the camera over and opening the Card/Battery slot by sliding the plastic tab.
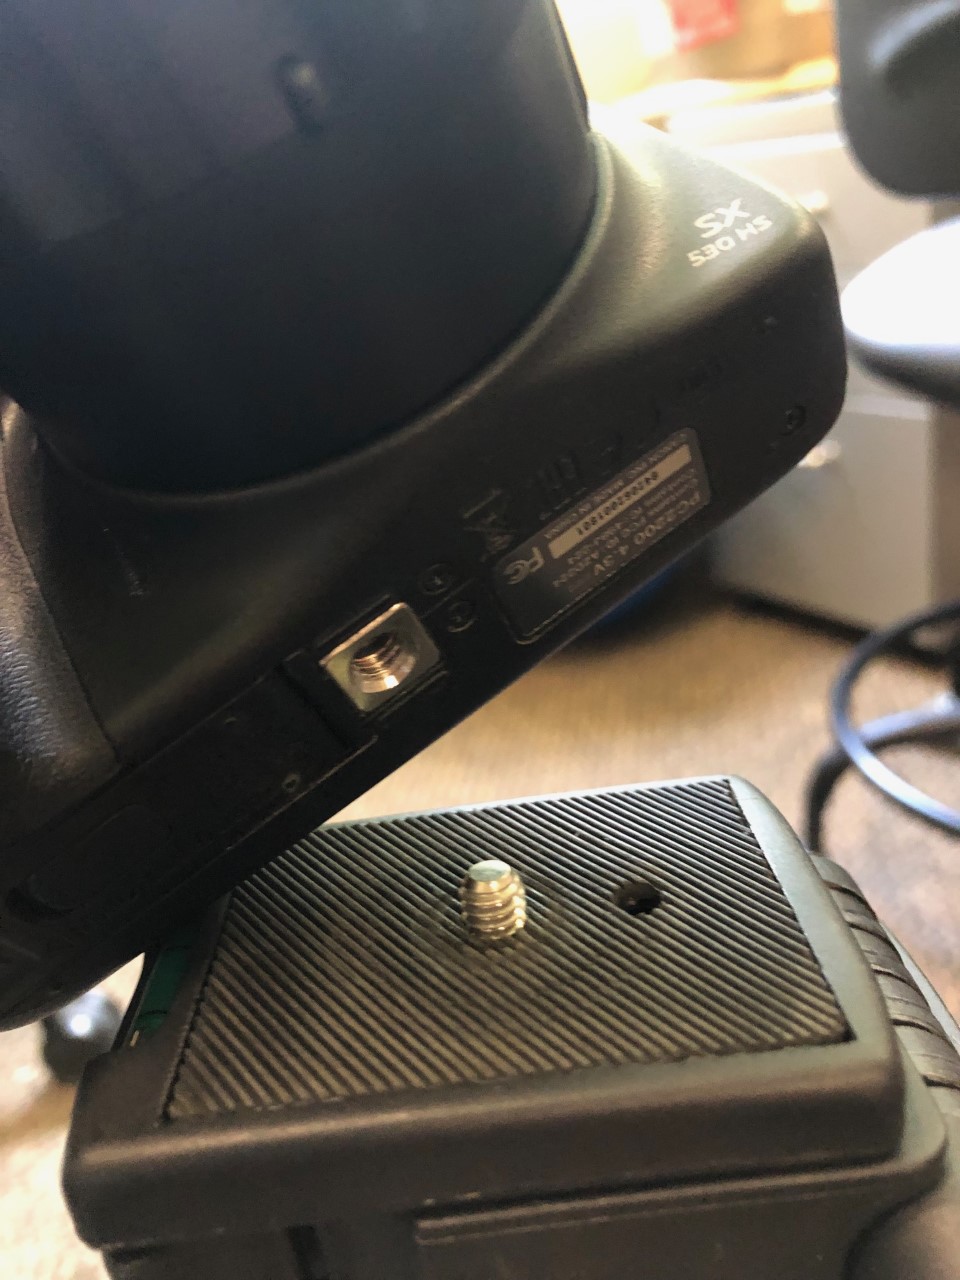
- Screw the camera onto the tripod base until it is tight. Simply line up the screw hole on the bottom of the camera with the screw protruding from the base of the tripod and gently twist.
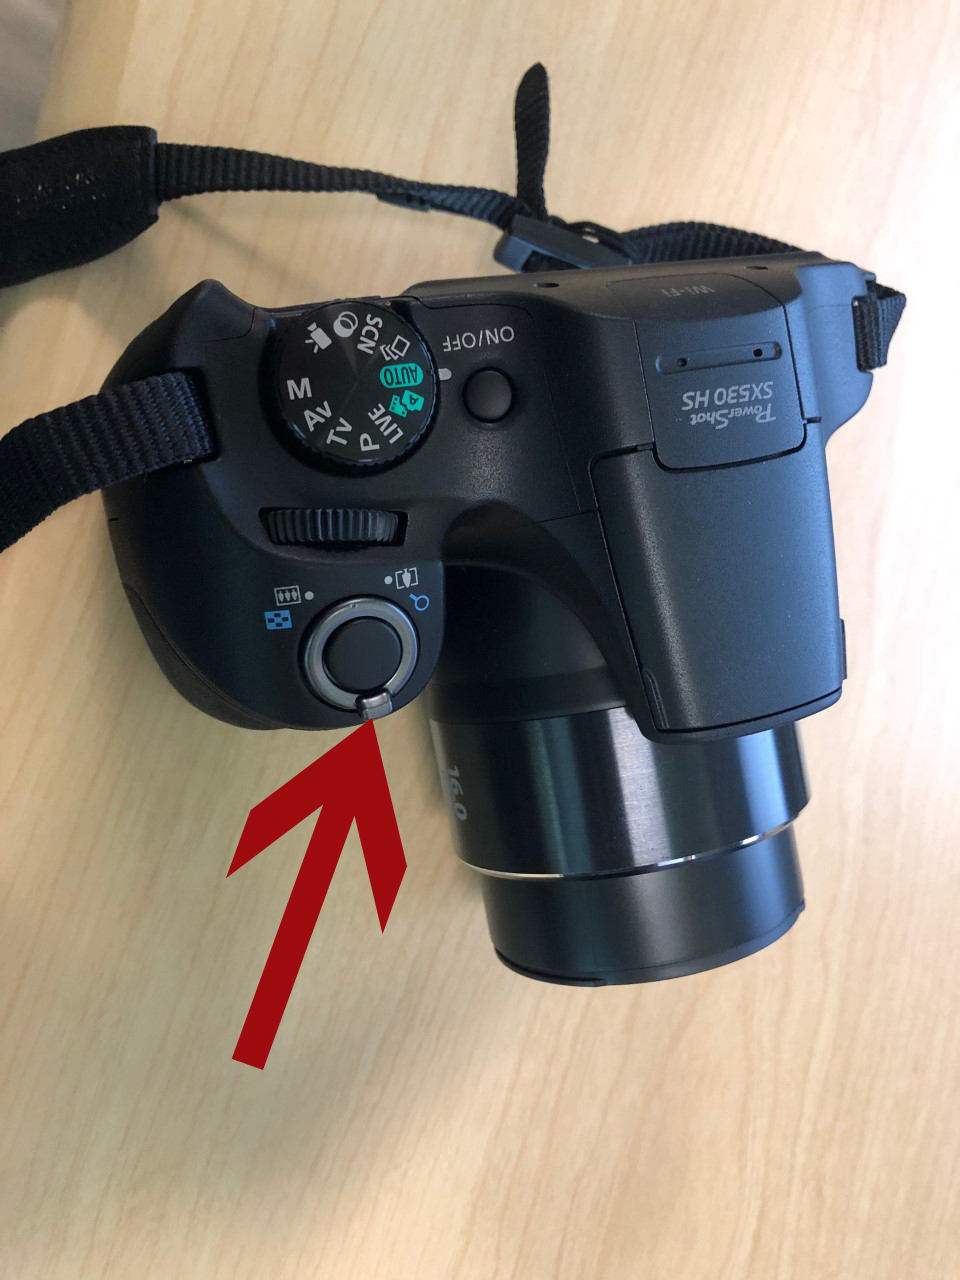
- Remove the lens cap from the front of the camera by gently pinching the two plastic tabs together and pulling away from the lens.

- The zoom of the lens can be controlled by the slide on the top of the camera. You can also modify the viewing window by adjusting the tripod.
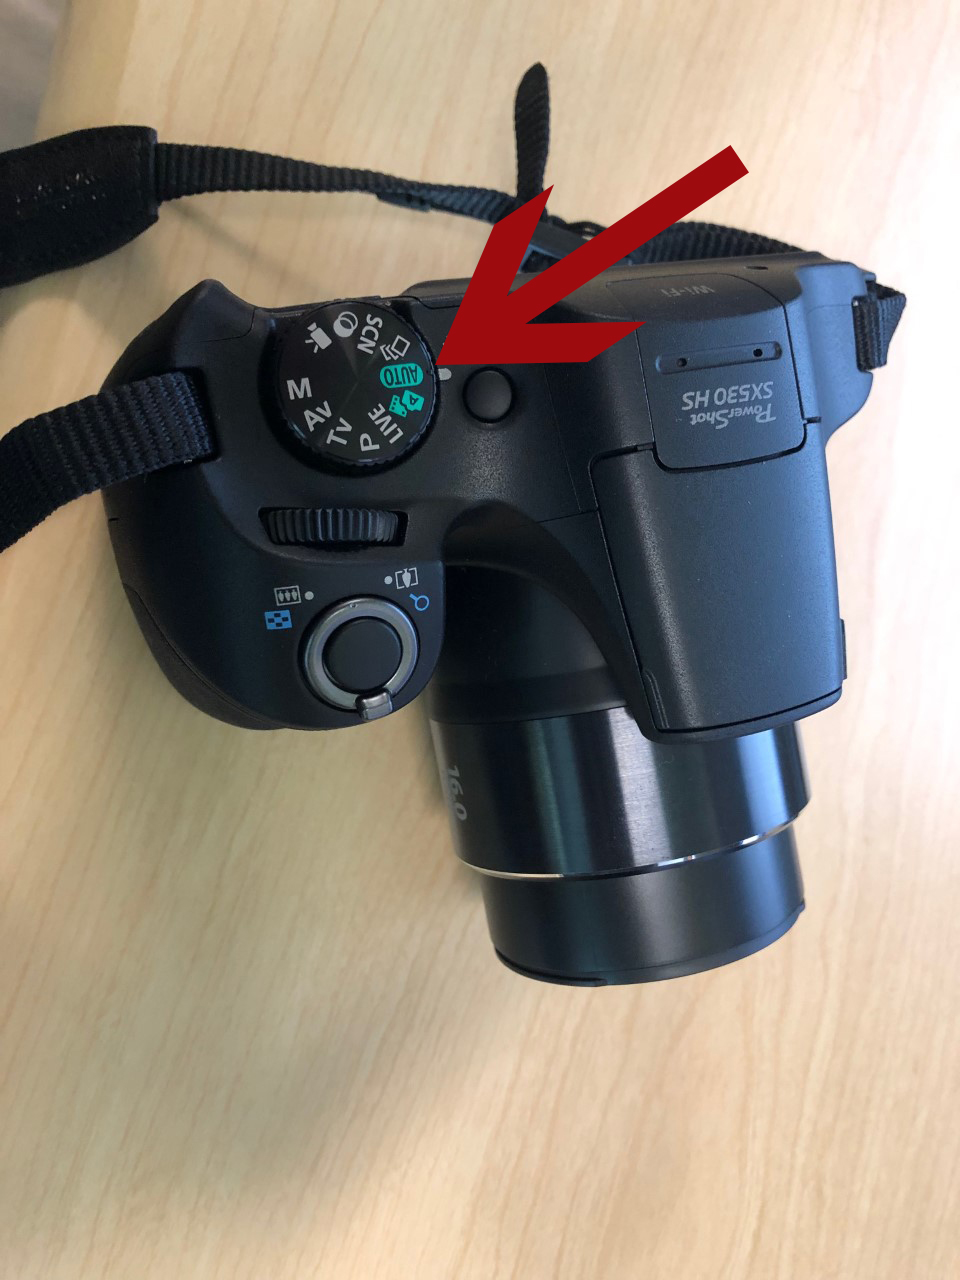
- Make sure the camera is set to Auto on the top spinning wheel.
- Hit the red circle to begin recording. You will know the camera is recording as there will be a time counting up on the top of the camera viewing window and a red dot with Rec written next to it will appear on the screen.
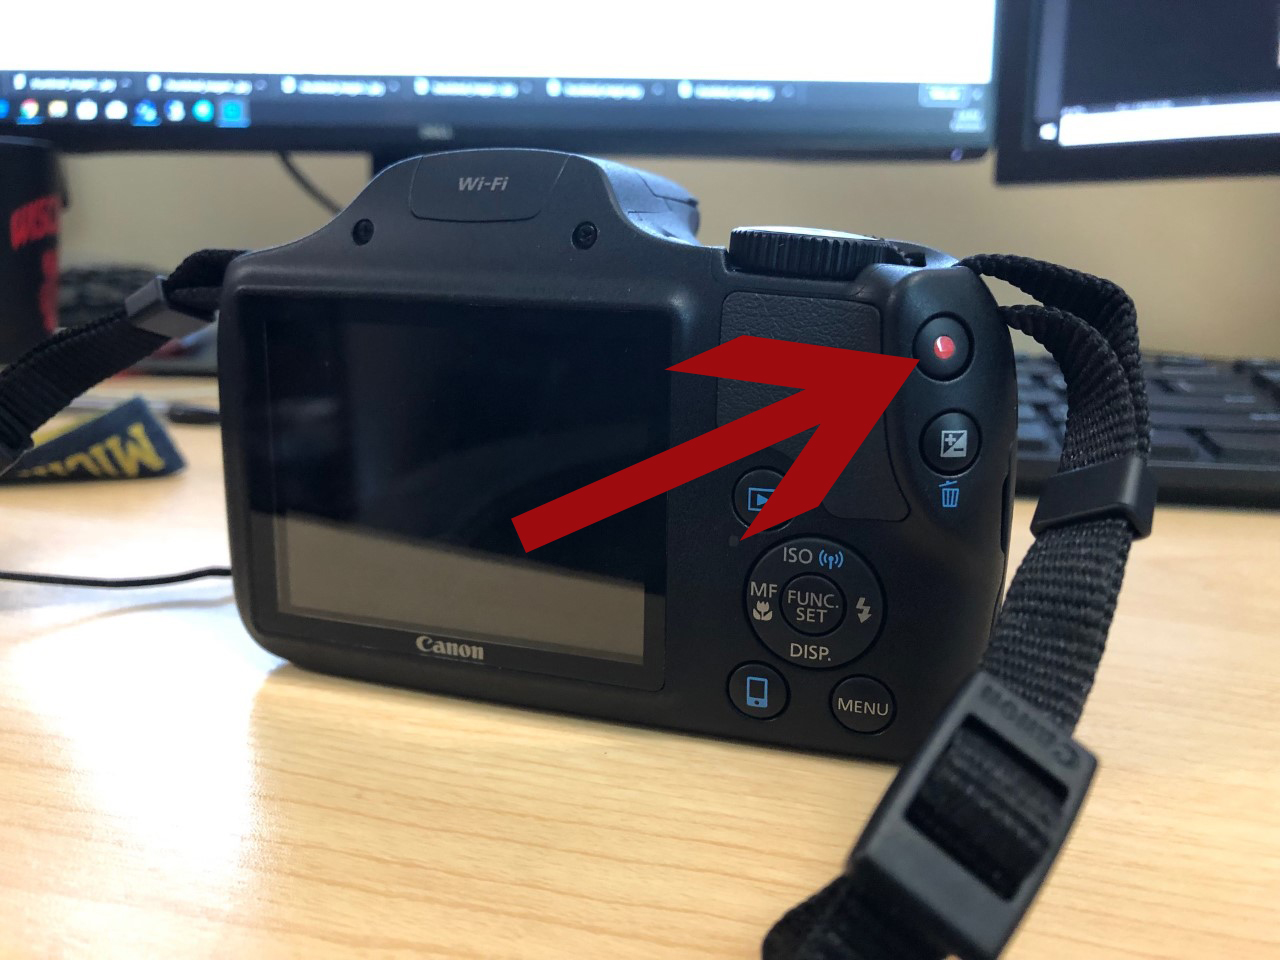
- Hit the red circle again when you wish to stop your recording.
- Reattach the lens cap by pinching the tabs and gently placing back on the front of the lens. Make sure to hit the On/Off as well to power off the camera.
- Ensure the camera is powered off, pressing the On/Off switch if necessary.
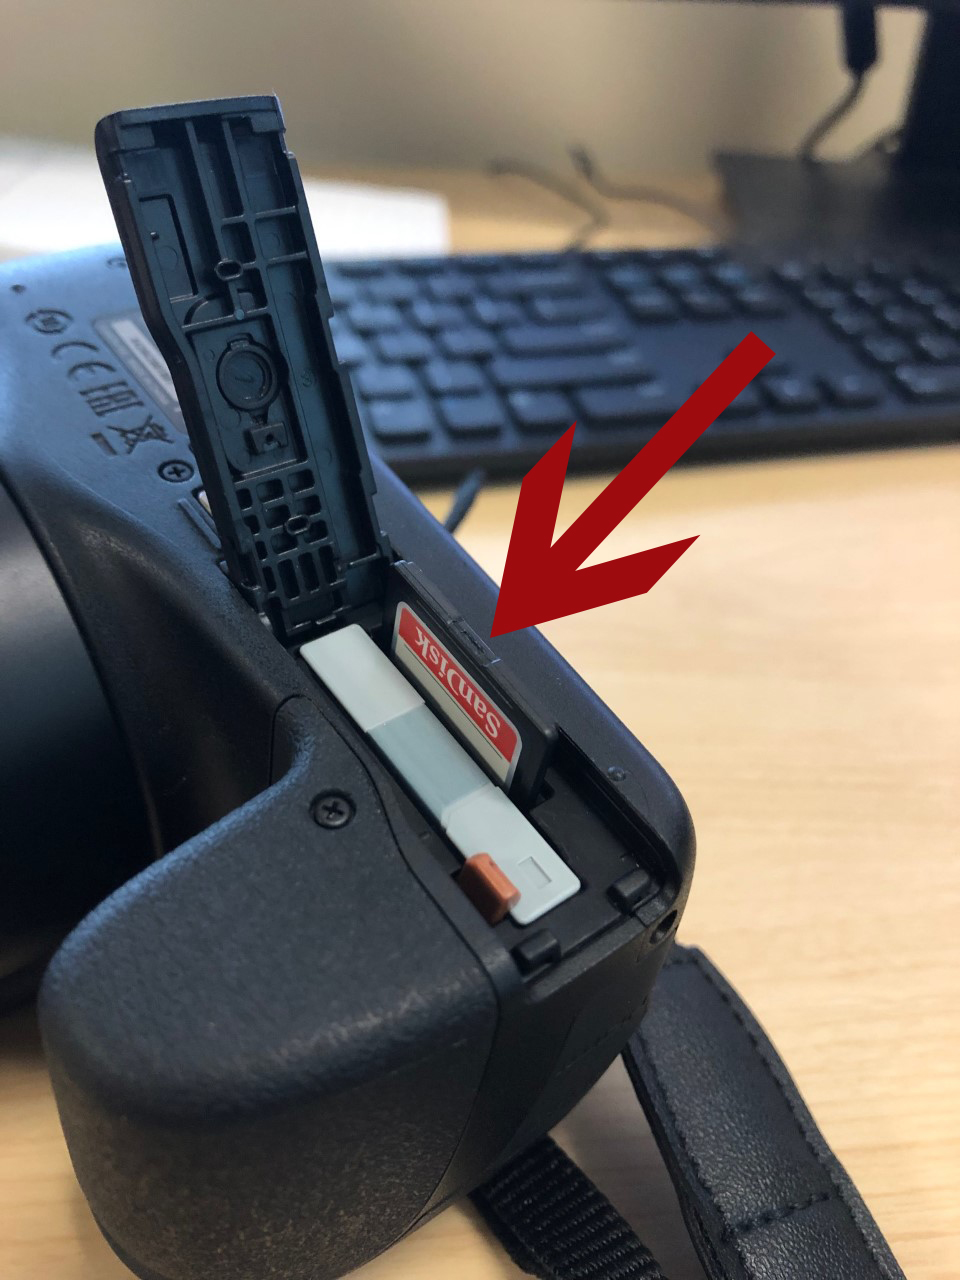
- Locate the Card/Battery Open on the bottom of the camera and use the slide tab to open the compartment.
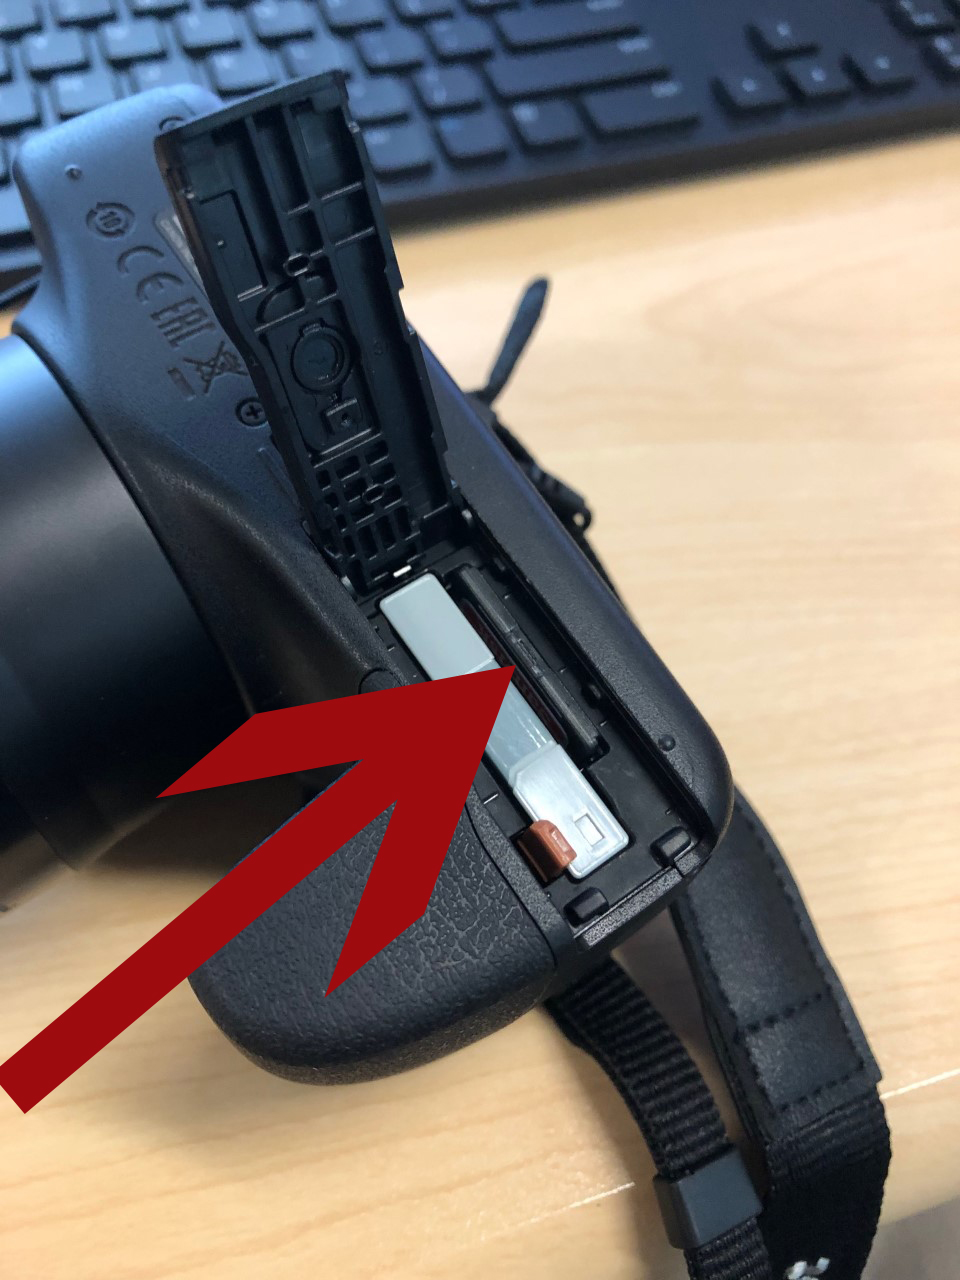
- Push on the top of the SD card lightly and it should pop out. Slide it out from it’s compartment on the camera.
- Plug the SD card into your computers SD card slot.
- If your computer doesn’t have an SD slot, locate the All in 1 Mini Card Reader in the camera bag (front pocket) and plug the SD card into this and then into your computer’s USB port.
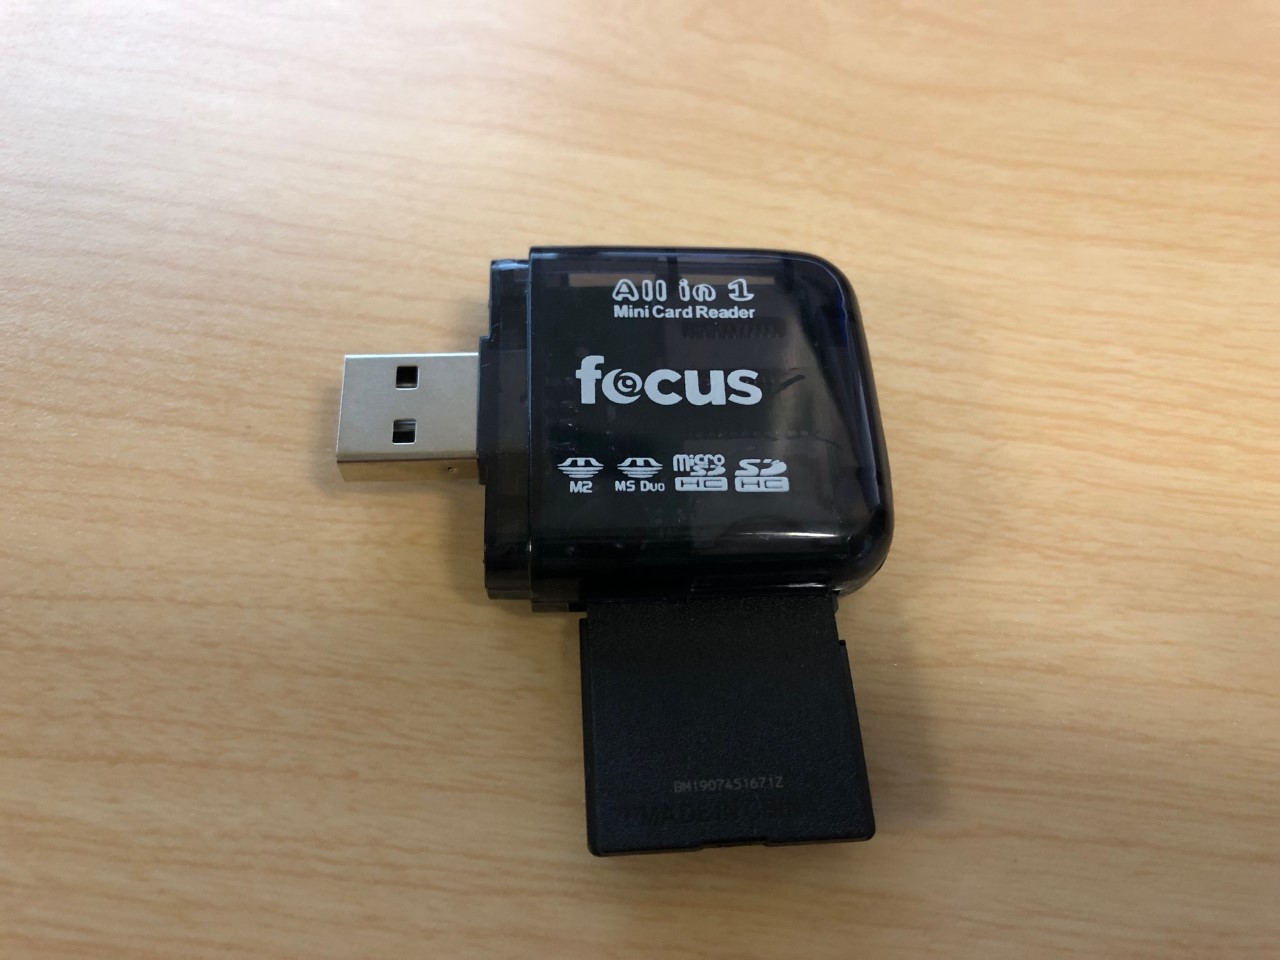
- If your computer doesn’t have an SD slot, locate the All in 1 Mini Card Reader in the camera bag (front pocket) and plug the SD card into this and then into your computer’s USB port.
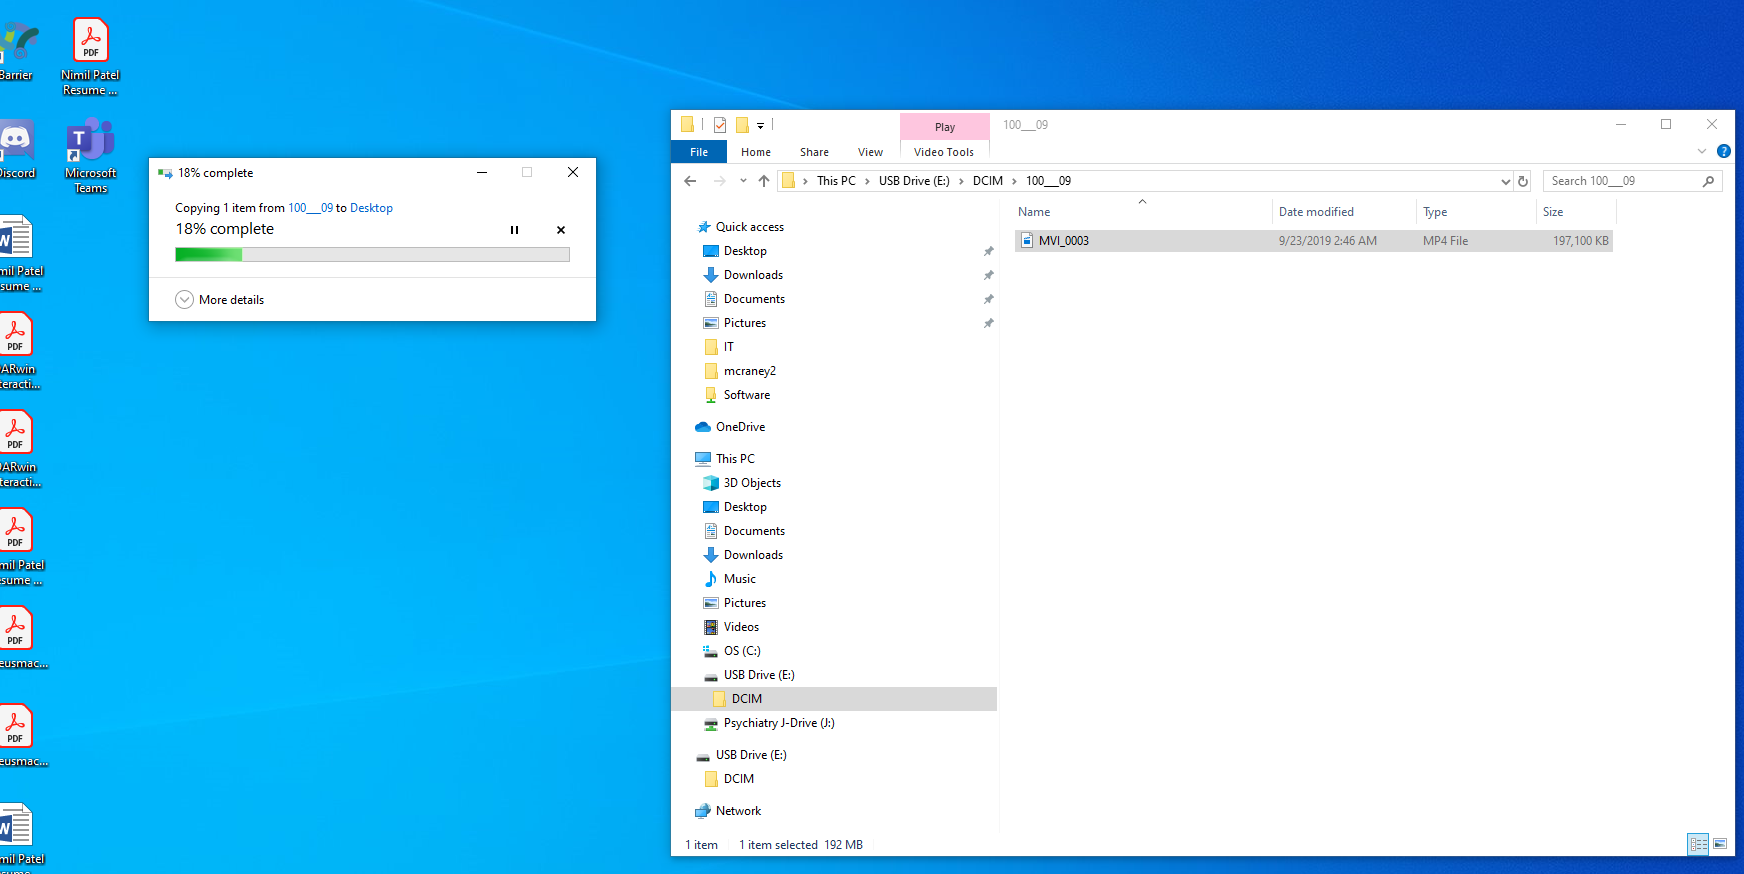
- Locate the USB Drive/SD Card and copy and paste your video file from the SD card onto your local computer and allow the file to transfer. You now have a copy of your video on your computer and can upload it to Box, Google Drive, or just keep a copy on your computer. When you’re sure you have the video file, please delete your video off the SD card so those who use the camera in the future have enough space to record their videos.
- Remove the SD card/Mini Card Reader from your computer. Put the SD card back into its slot on the camera and be sure to return the All in 1 Mini Card Reader to the camera bag’s front pocket if you used it.