Background Information
The term “softphone” refers to a “software phone.” This utilizes Voice over Internet Protocol (VoIP) technology to place and receive phone calls through a software application on a computer, tablet, or phone device. UW uses Cisco’s Webex application to implement softphone calls. The Webex app is an all-in-one communication hub for instant messaging, teleconferencing, and softphone calls. This page only focuses on softphone calls. (Note, Jabber is another Cisco application that supports softphones, but Jabber will gradually be phased out in favor of Webex. If you currently use Jabber, we recommend that you switch to Webex now to avoid any interruptions in service.)
Updates
Update 06/12/2023
Some networks (such as home networks, public hotspots, or business networks) can be configured to block or improperly handle softphone traffic. Connecting to VPN in these cases should allow the phone to work properly.
Softphone Features
Here are a few advantages to using a softphone
- Portable – Since a softphone works over the Internet, a user can make and receive calls from anywhere he/she has an Internet connection. This is a great option for remote workers and workers who frequently switch offices.
- Easy user interface – A softphone has the ability to display more information in a user interface than does a regular desk phone. With a softphone, a user is able to easily see the call history, browse contacts, and place callbacks with a click of a button.
- Quickly access voicemail – Voicemail messages integrate seamlessly into the softphone client, allowing users to browse a list of messages to play/delete without the need to dial into a voicemail message system. (Note this feature does not exist for shared phone lines, like research lab lines.)
- Manage multiple lines – A softphone can be connected to multiple lines so a user can easily switch between numbers by selecting the desired line.
- Supports advanced call features – Options like conference calling and transfering calls are supported on softphones.
Softphone Installation
Department-owned Device
Our IT team deploys Webex to the majority of department-owned devices automatically. If you do not believe Webex is installed on your department-issued device, please contact us and we’ll install it for you right away.
Personally-owned Device
Webex is free to install on a personal device.
For Windows or Mac computers: Download from Cisco
For mobile devices (iOS/Android) please visit the Apple App Store or the Google Play Store to install.
Basic Softphone Operation
Place and Receive Calls
- Open the Webex application and sign into it with your UW email address. The icon looks like the following (Note, this application is different from Webex Meetings, but the icons looks the same, unfortunately; if your application looks differently from the screenshots below, you probably have the wrong application open)

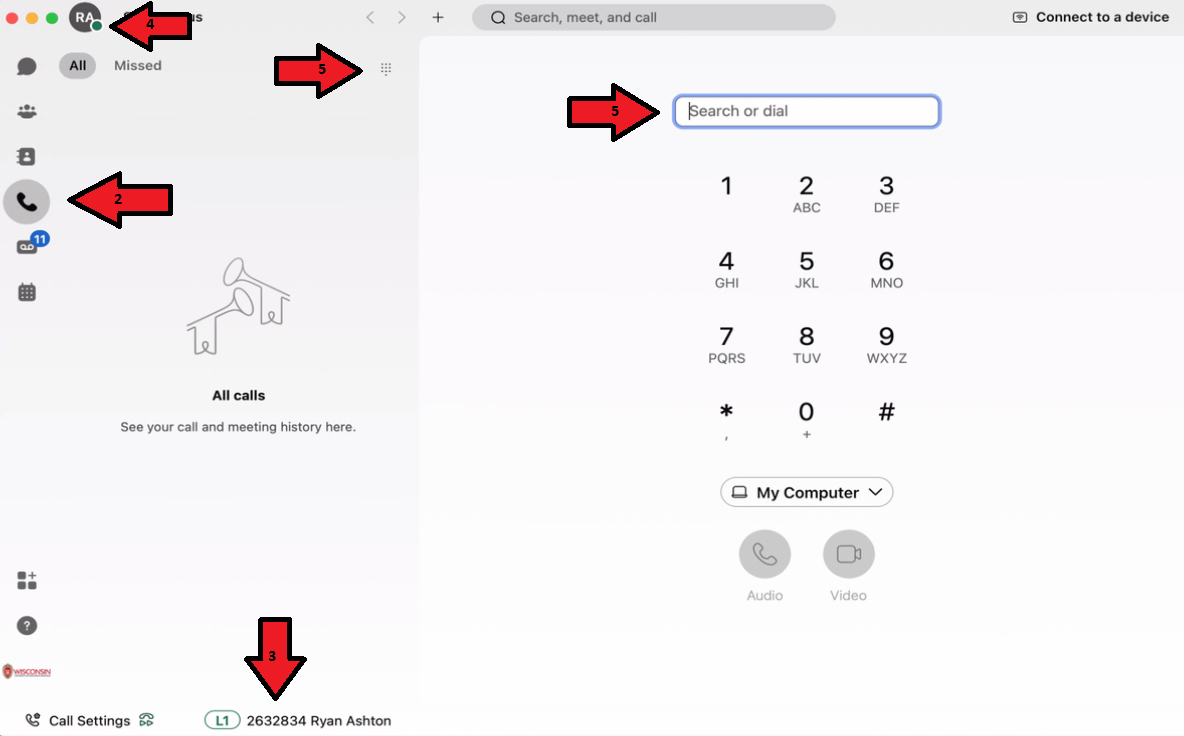
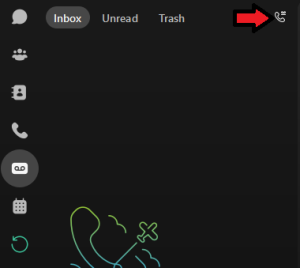
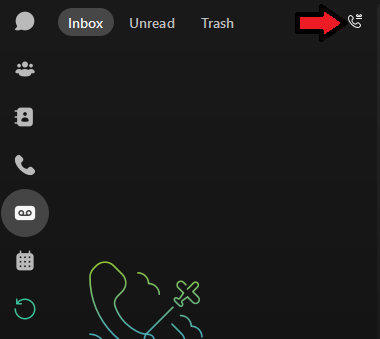
- Once signed in, select the phone tab in the left-hand menu.
- Verify that phone services are connected in the bottom-left of the screen. If phone services are connected, the Call settings button will be clickable (otherwise it will be greyed out). Note, if you have multiple lines, you can click your number to select the line you want to use.

- If the phone is not connected, you will see the following

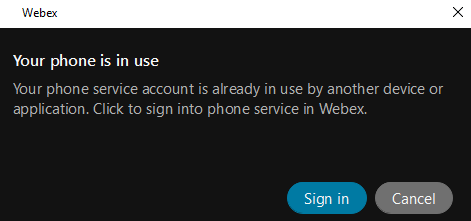
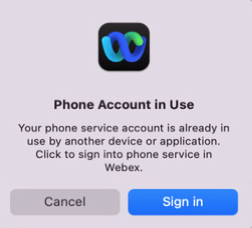
- This can happen if you are signed into Webex on another desktop/laptop device. You can only be signed into the Webex softphone on one desktop/laptop device at a time. To sign into your current device, click Reconnect and you’ll see the following screen. Click Sign in to sign into this device (and simultaneously sign out of your other device)
- If the phone is not connected, you will see the following
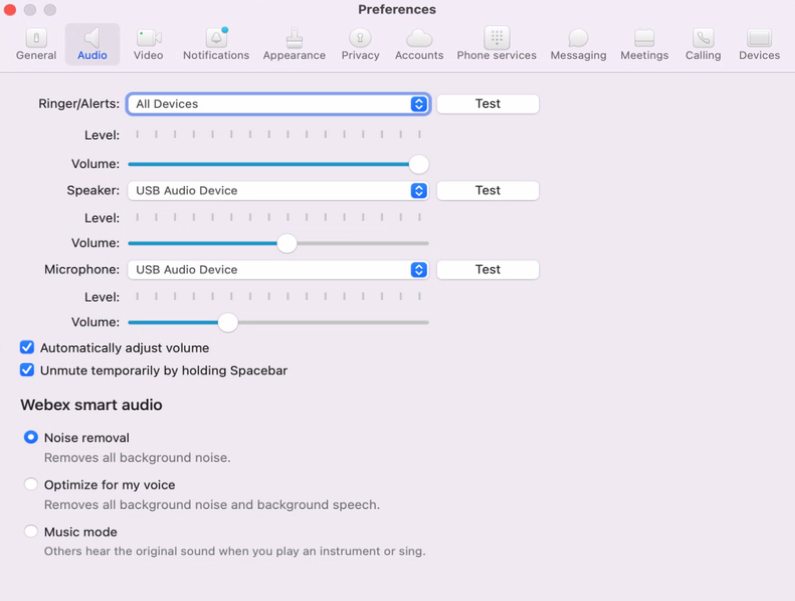
- Verify your audio settings (microphone and speakers) by clicking your account icon in the top-left of the main screen and choosing Settings. If you have multiple audio devices connected to your system, select the audio devices you want to use here and click the Test buttons to test the devices’ functionality

- Place/Receive calls
- To place an outgoing call, toggle the keypad icon
 to display the ten-digit keypad if necessary. Dial the number using one of the following: type the keypad on your keyboard, click the numbers on the screen with your mouse, or tap the numbers on your touchscreen display. Click/tap the Audio icon
  or press Enter to place the call. You will see the application place the call
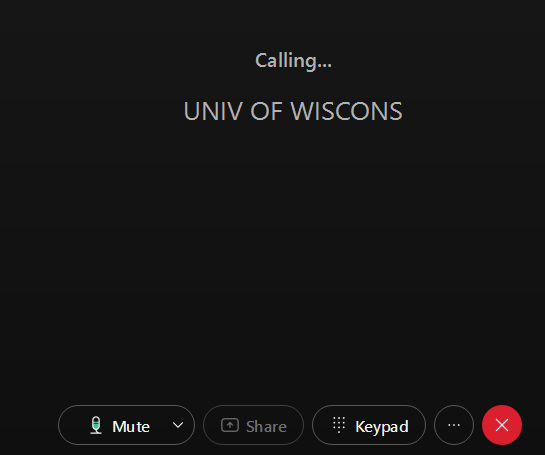
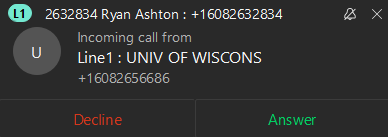
- When you receive an incoming call, the default action in Webex is to display a popup window in the bottom-right corner of your screen and play a ring tone on all of your connected audio devices. Click Answer to accept the call or Decline to reject the call
- To place an outgoing call, toggle the keypad icon

Please contact your Psychiatry helpdesk if you need assistance using your Webex softphone.
Place and Receive Calls
- Open the Webex application and sign into it with your UW email address. The icon looks like the following (Note, this application is different from Webex Meetings, but the icons looks the same, unfortunately; if your application looks differently from the screenshots below, you probably have the wrong application open)
- Once signed in, select the phone tab in the left-hand menu.
- Verify that phone services are connected in the bottom-left of the screen. If phone services are connected, the Call settings button will be clickable (otherwise it will be greyed out). Note, if you have multiple lines, you can click your number to select the line you want to use.

- If the phone is not connected, you will see the following

- This can happen if you are signed into Webex on another desktop/laptop device. You can only be signed into the Webex softphone on one desktop/laptop device at a time. To sign into your current device, click Reconnect and you’ll see the following screen. Click Sign in to sign into this device (and simultaneously sign out of your other device)
- If the phone is not connected, you will see the following
- Verify your audio settings (microphone and speakers) by clicking your account icon in the top-left of the main screen and choosing Settings. If you have multiple audio devices connected to your system, select the audio devices you want to use here and click the Test buttons to test the devices’ functionality
 If you receive a popup about allowing access to the camera, microphone, or speakers, click OK to allow
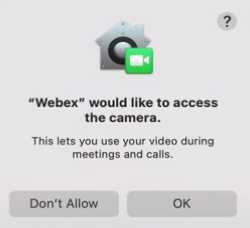
- Place/Receive calls
- To place an outgoing call, toggle the keypad icon
 to display the ten-digit keypad if necessary. Dial the number using one of the following: type the keypad on your keyboard, click the numbers on the screen with your mouse, or tap the numbers on your touchscreen display. Click/tap the Audio icon
  or press Enter to place the call. You will see the application place the call
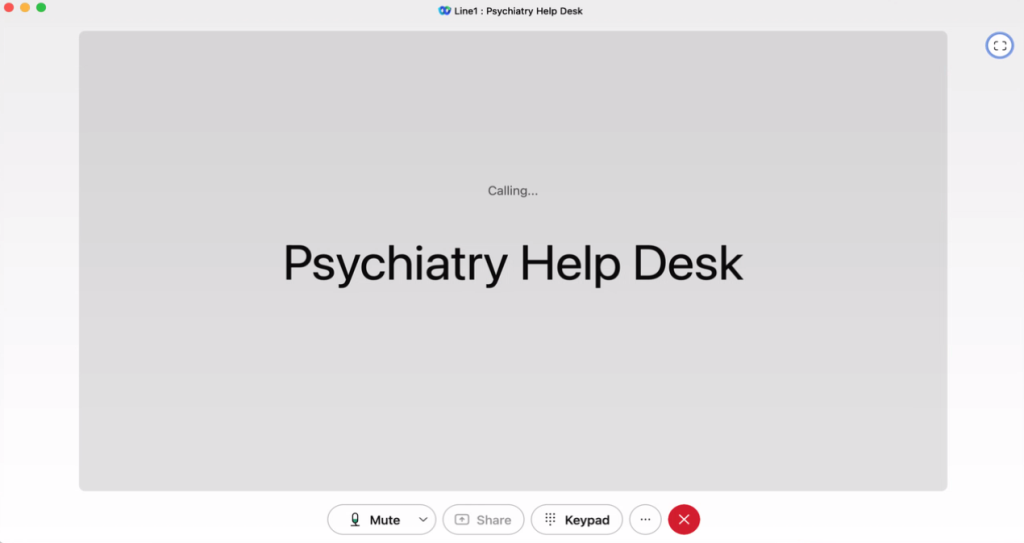
- When you receive an incoming call, the default action in Webex is to display a popup window in the bottom-right corner of your screen and play a ring tone on all of your connected audio devices. Click Answer to accept the call or Decline to reject the call.

- To place an outgoing call, toggle the keypad icon

Please contact your Psychiatry helpdesk if you need assistance using your Webex softphone.
Place and Receive Calls
- Open the Webex application and sign into it with your UW email address. The icon looks like the following (Note, this application is different from Webex Meetings, but the icons looks nearly the same, unfortunately. Also, screenshots can look differently depending on the iOS device you are using, but the same basic operations work on all devices.)
- Once signed in, select any option under Calling (Recent, Missed, Contacts, Voicemail) to use calling features.
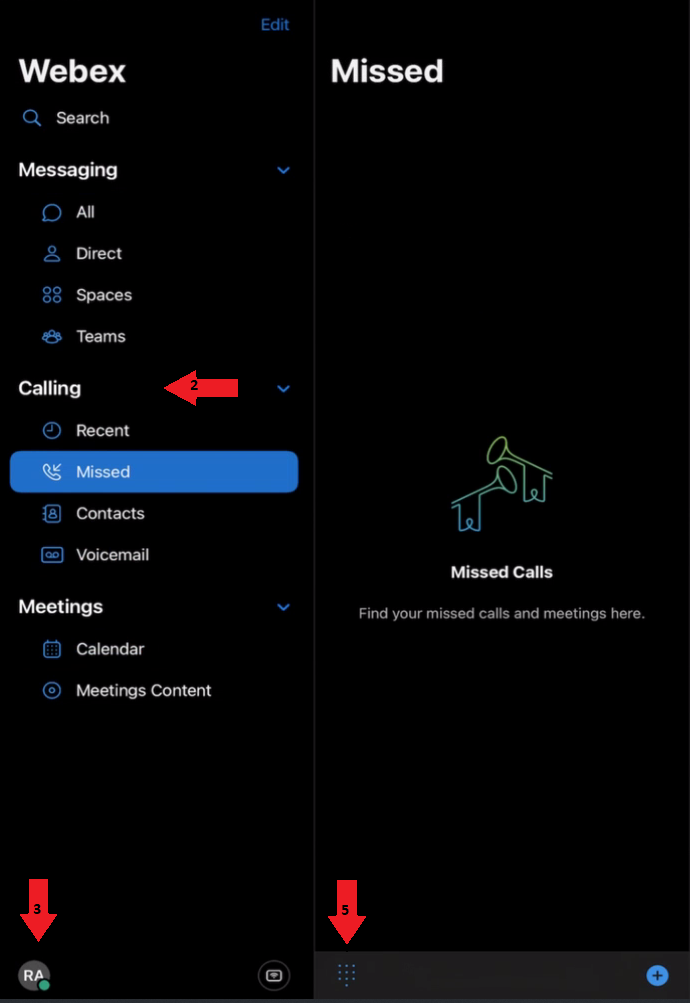
- Verify that phone services are connected by tapping your Account Icon > Settings > Calling.

- Audio settings are controlled by the iOS system rather than within the Webex app. If you use an external headset or other bluetooth device, please see Apple’s iOS Accessories help page for help configuring.
- Place/Receive calls
- To place an outgoing call, toggle the keypad icon to display the ten-digit keypad if necessary. Tap the numbers on your touchscreen display to dial. Tap the Audio icon to place the call. You will see the application place the call.
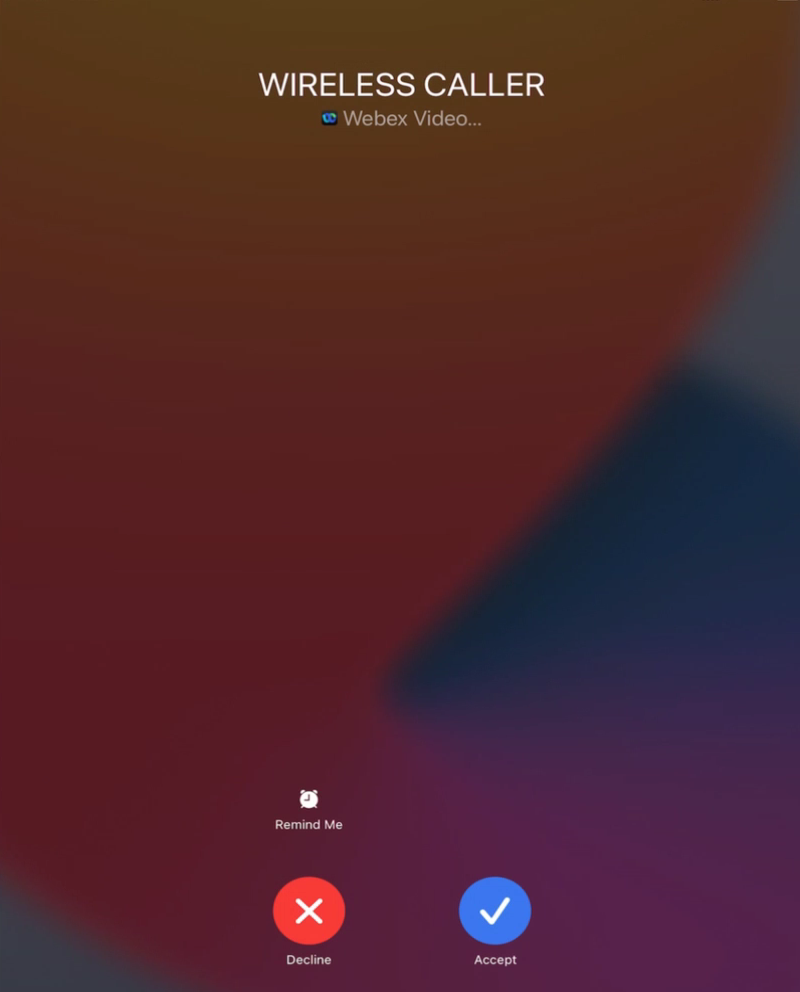
- When you receive an incoming call, you will receive a notification to accept or reject the call.
- To place an outgoing call, toggle the keypad icon
Please contact your Psychiatry helpdesk if you need assistance using your Webex softphone.
Voicemail
Personal lines (i.e not shared)
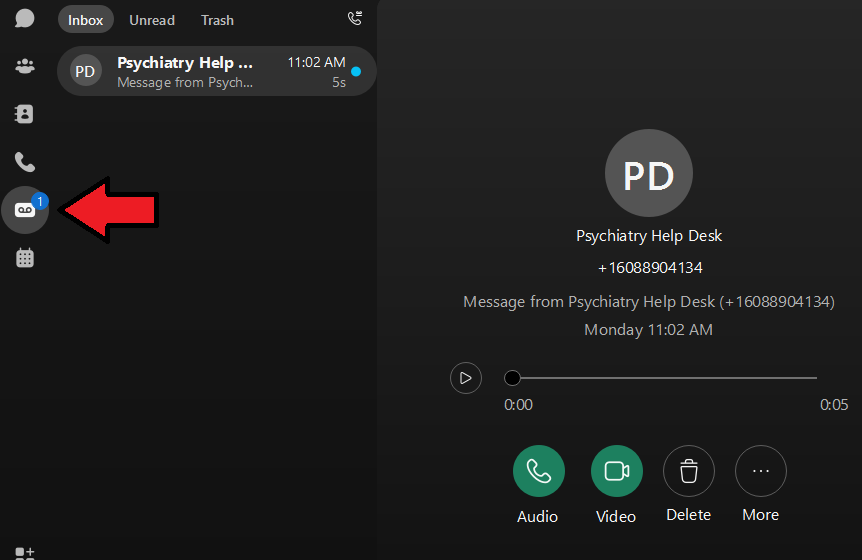
- Click the Voicemail tab to access your voice messages
Shared lines (e.g. research lab lines)
- Either call 608-262-2500 or click the call voicemail button in the voicemail tab of Webex
- Press *
- Enter your 7-digit phone number (which the system refers to as your Connection ID) and press #
- Enter your PIN and press #
- (see here to reset your PIN)
Configure Do Not Disturb
Set Do Not Disturb within Webex app
Users can silence incoming call notifications on the Webex app only using the Do Not Disturb settings. This setting only applies to the device the user sets it on.
- Click your account icon in the top-left of the Webex app
- Click Availability
- Select your preferred do not disturb period of time

Set Do Not Disturb through Self-Care Portal
Users can configure do not disturb settings across all devices using advanced phone settings through the Cisco Self-Care portal.
Users can access the portal with their UW NetID credentials here: Self-Care Portal
Users can also launch the portal through the Webex app by opening the following: Account Icon (top-left of window) > Settings > Calling > Advanced Call Settings
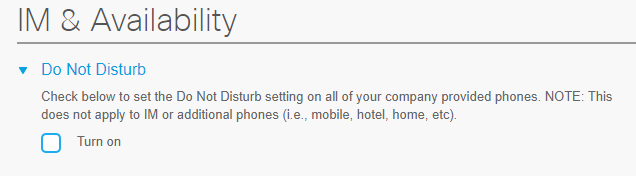
Under the IM & Availability tab, users can check the box to turn on Do Not Disturb. This will silence audible notifications for Cisco phones and Webex softphones. Note, this setting must be turned off manually to re-enable notifications.