Connection Instructions
- Ensure that you are connected to VPN. Click here to learn how to connect to VPN.
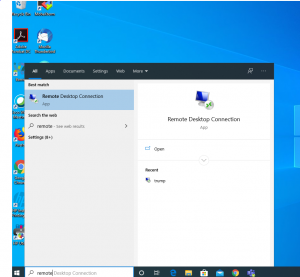
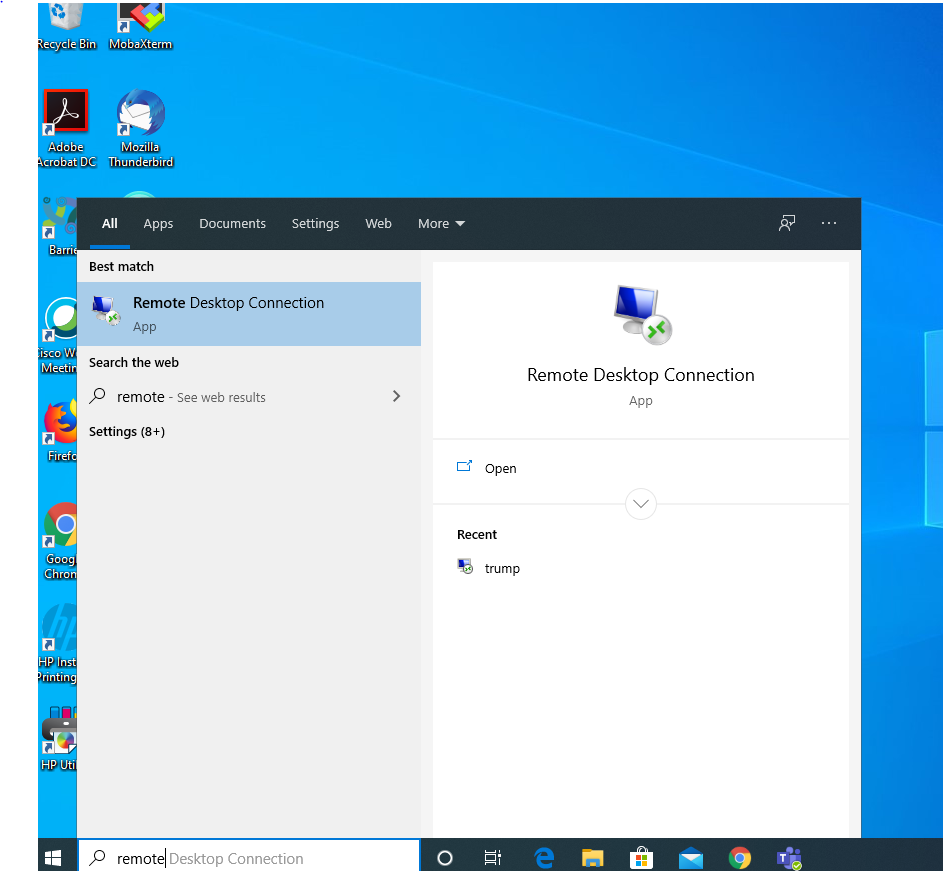
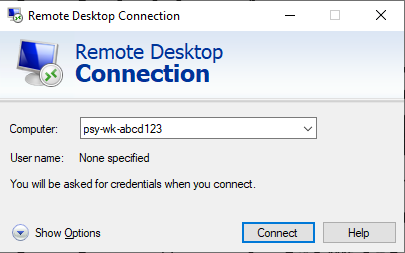
- Open the Remote Desktop Connection app. Use the Windows search bar in the bottom left corner of your screen to search by name.
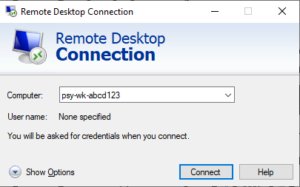
- Enter either the name of the PC you are trying to connect to (usually in the form “psy-wk-abcd123”, where the last part is the computer’s serial number) in the box that says Computer: and click connect.
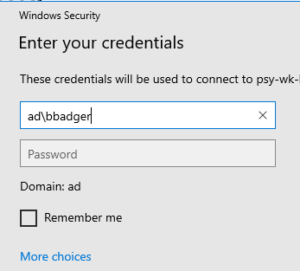
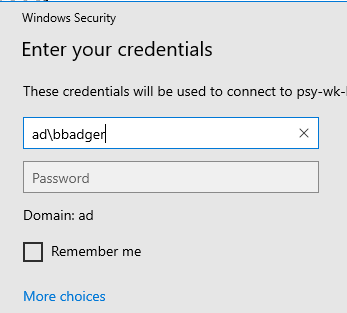
- You should be prompted to enter your credentials. Enter your UW NetID credentials in the form “ad\NetID“. For example, Bucky Badger would enter “ad\bbadger” as illustrated below. Note: If you are only prompted for a password and the username looks incorrect, click More choices and select Use a different account.
 If your credentials are correct and you have permission to remote connect to the machine, you should see the Windows desktop environment appear.
 - Contact the helpdesk if you run into any issues or need further assistance.
- Ensure that you are connected to VPN. Click here to learn how to connect to VPN.
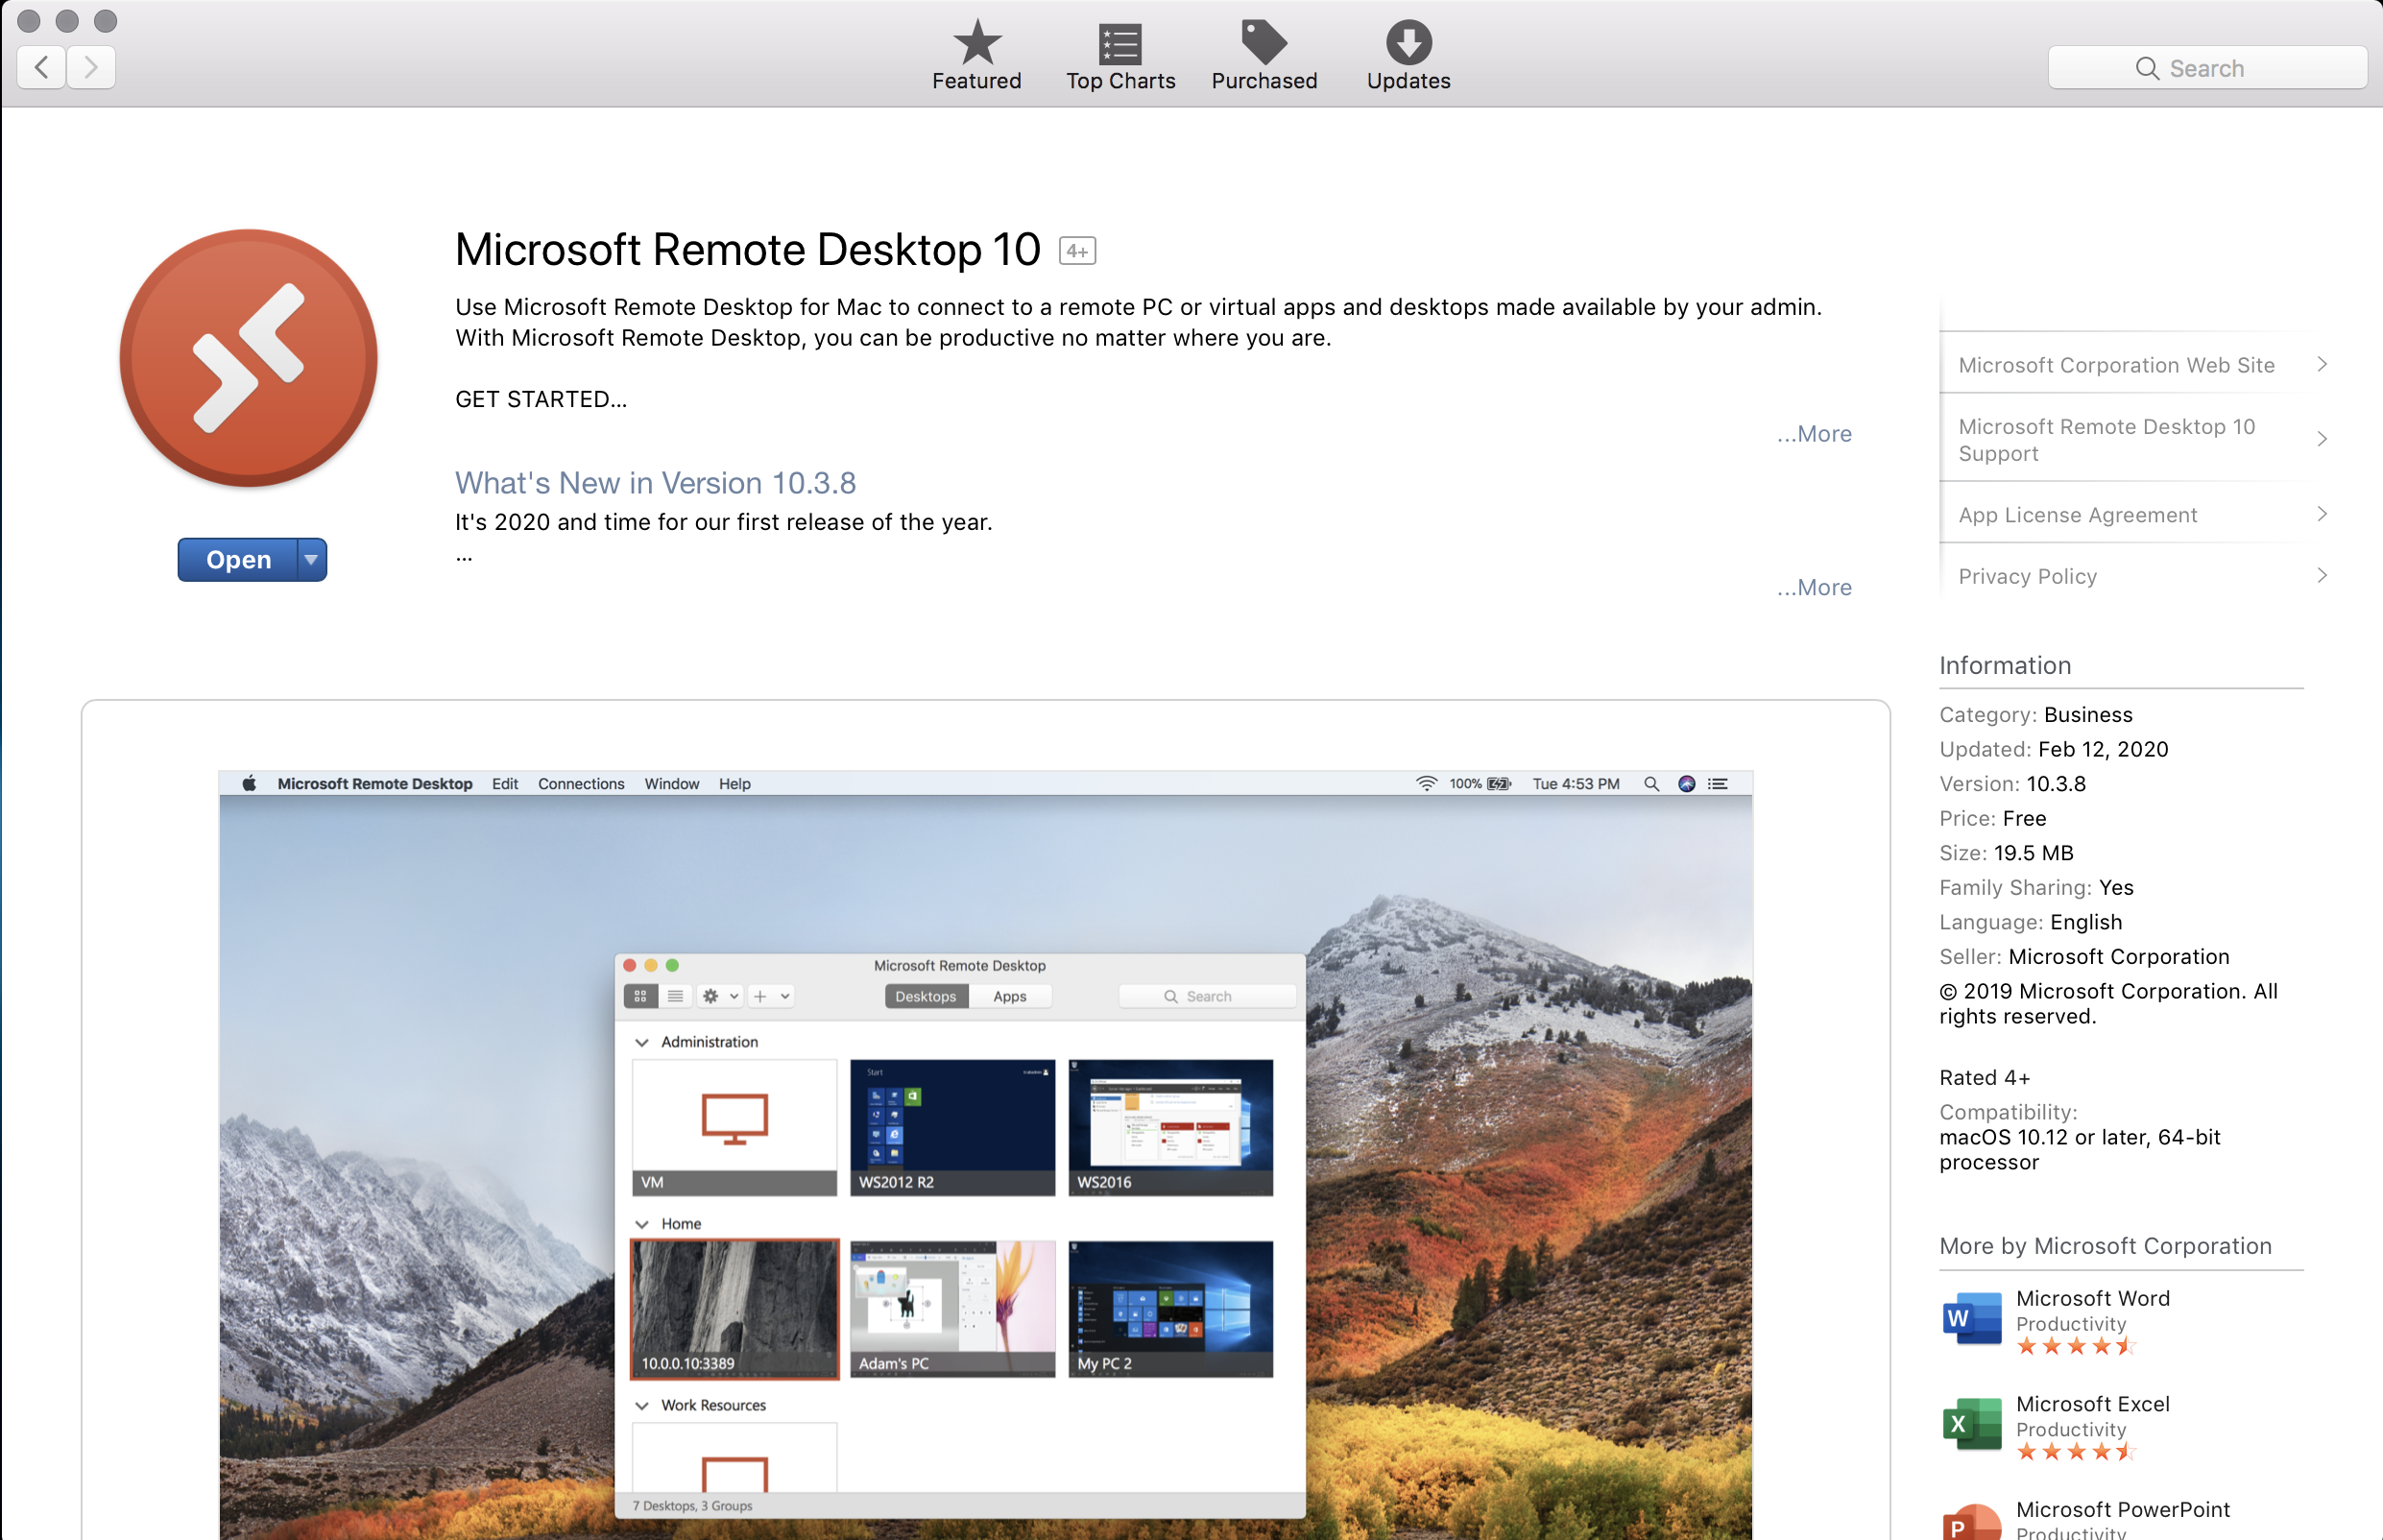
- If you already have the Microsoft Remote Desktop app installed you can skip this step. Otherwise, open the App Store and search for Microsoft Remote Desktop. Click on the app and install it. If you are prompted for your credentials, go ahead and enter your Apple ID and password.

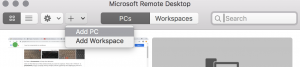
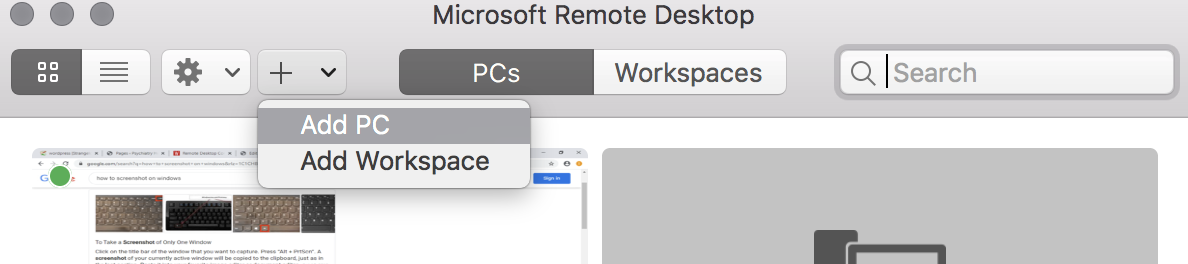
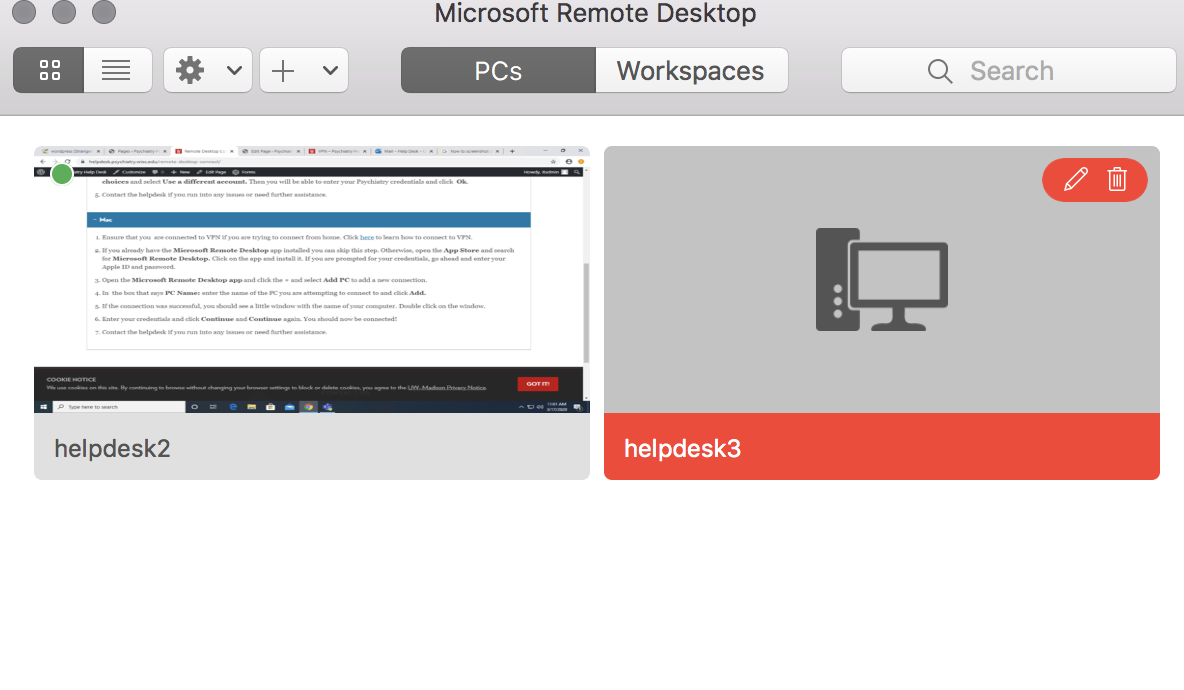
- Open the Microsoft Remote Desktop app and click the + and select Add PC to add a new connection.
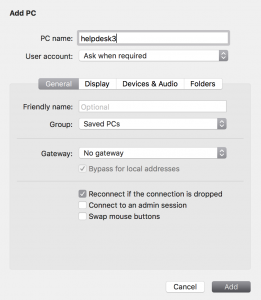
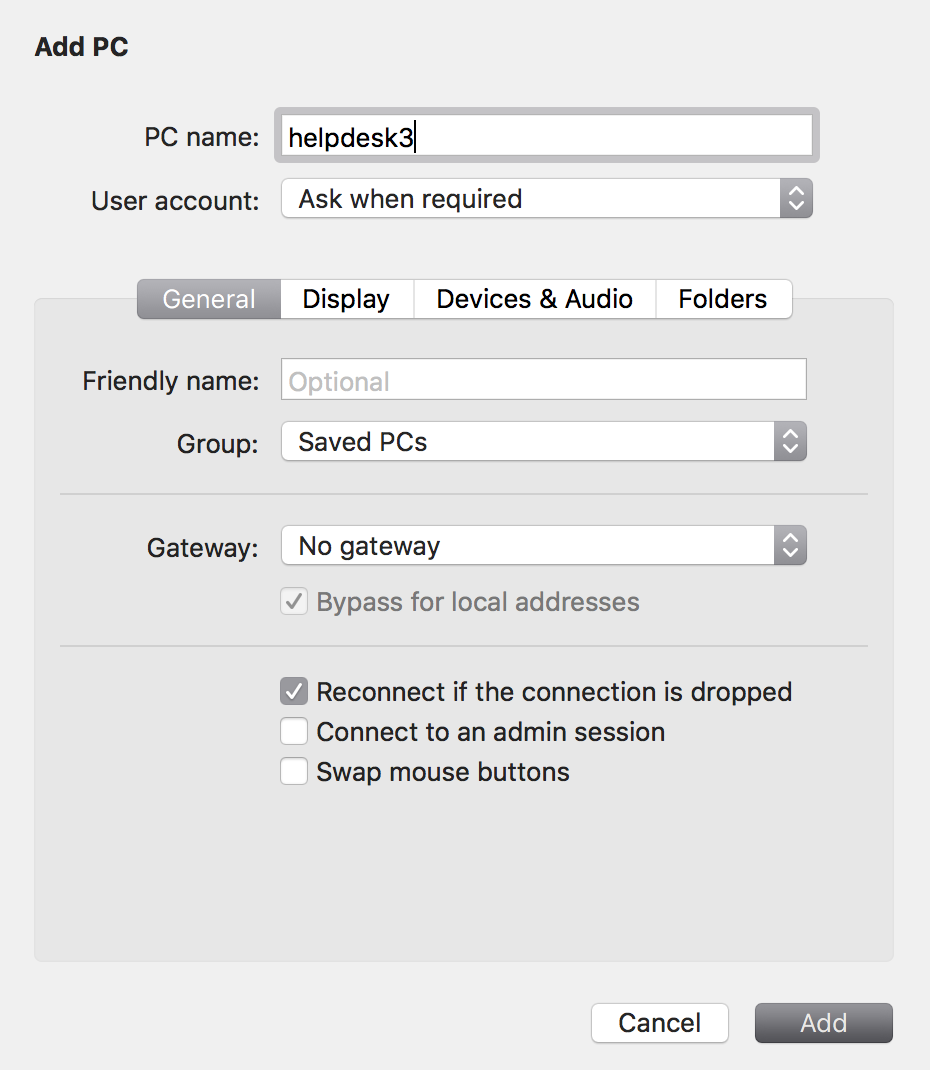
- In the box that says PC Name: enter the name or the IP address of the PC you are attempting to connect to and click Add.
- If the connection was successful, you should see a little window with the name of your computer. Double click on the window.

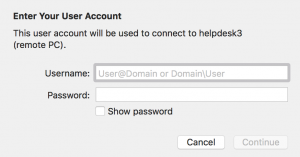
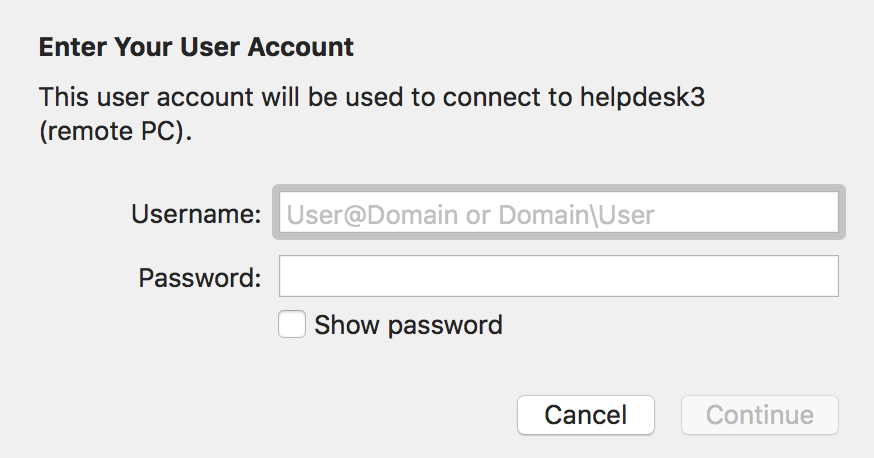
- Enter your credentials and click Continue and Continue again. You should now be connected!
 Contact the helpdesk if you run into any issues or need further assistance.
Important Note: This method does not hide or blank the remote computer’s screen. Everything on your remote computer’s screen can be seen by anyone who can see your remote computer’s monitor. Be cautious with the data you show on your screen.
Connection Steps
- Ensure that you are connected to VPN. Click here to learn how to connect to VPN.
- Open Screen Sharing (there are several ways to do this)
- Open Spotlight Search and type Screen Sharing
 Enter the computer name or ip-address
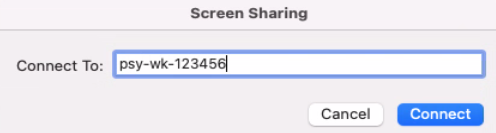
- Open Finder, select Go > Connect to Server then enter vnc://computer-name or vnc://ip-address

- Enter your username and password for the macOS machine
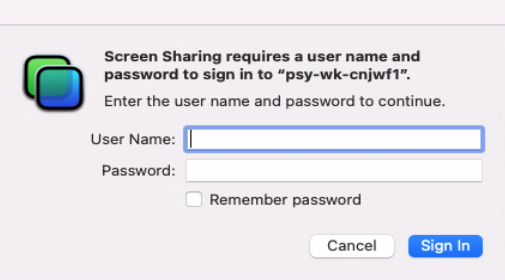 4. If everything worked correctly, you should now see your remote macOS desktop.
- Open Spotlight Search and type Screen Sharing
Please see Apple’s Documentation for more information.
Contact the helpdesk if you run into any issues or need further assistance.
Important Note: There is no official Apple- and Microsoft-supported method for remote desktop connections from Windows to macOS. As a result, third-party tools are our only option and they are not always reliable. Our helpdesk makes no guarantees to end users about reliability with the use of a third-party tool and will only provide minimal effort to troubleshoot. End users should only use this connection method as a last-resort and aim to use a macOS-to-macOS connection instead when attempting to remote into a macOS device.
We currently use NoMachine for Windows-to-macOS remote connections.
Prerequisits
- NoMachine must be installed on the macOS device. Contact our helpdesk to request the install of this application.
- NoMachine must be installed on the Windows device.
- Contact our helpdesk to request the install of this application on a department-managed Windows device.
- Users must install this application themselves on their own personal devices. Installers can be obtained from the NoMachine website.
Connection Steps for NoMachine
- Ensure that you are connected to VPN. Click here to learn how to connect to VPN.
- Open the NoMachine client on your remote Windows device. Enter the computer-name or ip-address of the computer you want to connect to.
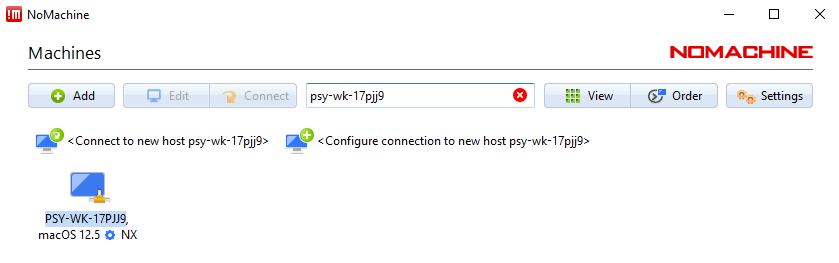
- Select the computer that matches your search and click Connect (or double-click the computer icon). Click Yes if you get a notice about authenticity can’t be established.
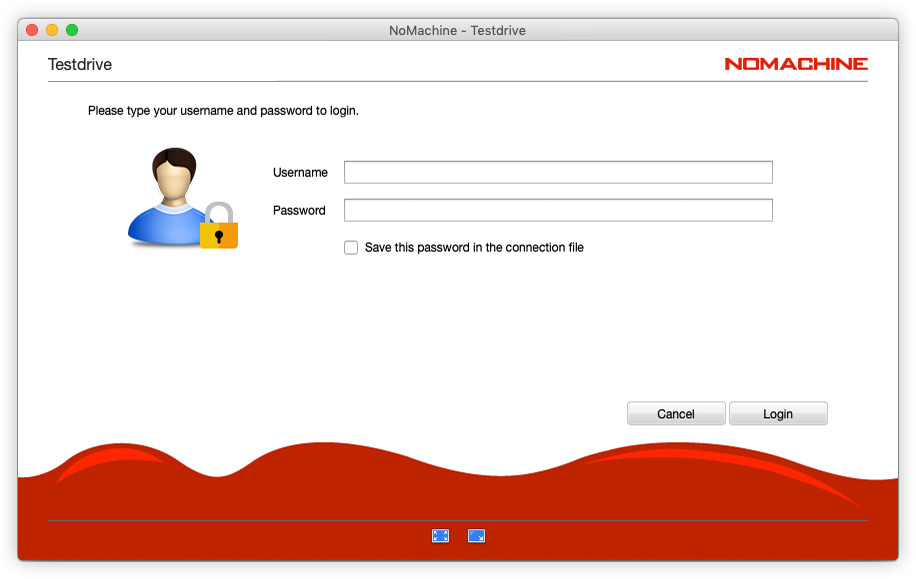
- Enter your username and password for the macOS device then click Login
- If successful, you will receive a series of screens that provide a tutorial for using NoMachine. Review then click OK to advance through these screens. You should then see and be able to interact with your remote desktop.
Please see NoMachine’s Getting Started page for more information.
Contact the helpdesk if you run into any issues or need further assistance.