SMPH-managed laptops must first sign into the SMPH VPN Portal in order to use WisPIC printers
Printing from personal devices to common printers is not supported or permitted
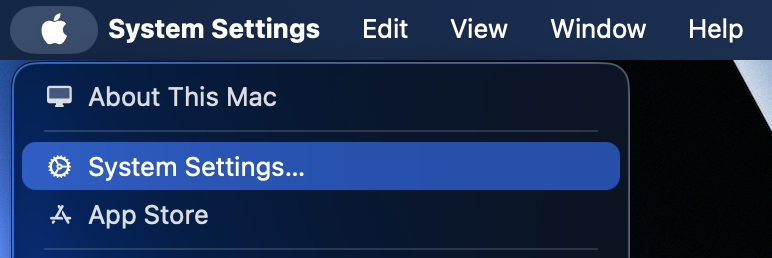
- Click the Apple Icon in the Menu Bar
- Select System Settings:
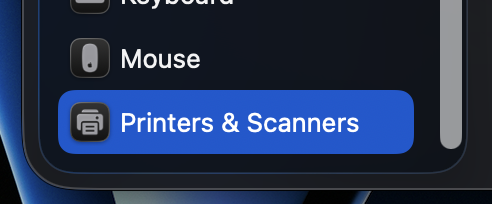
- Scroll to the bottom option and select Printers & Scanners:
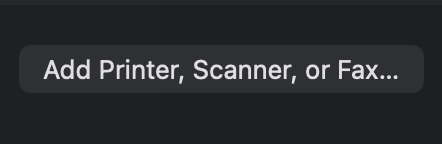
- Click Add Printer, Scanner, or Fax…:
- In the top bar, click IP in the center
- Copy and paste psy-ps-print.ad.wisc.edu in to the “Address” field and ensure “Line Printer Daemon -LPD” is selected:

- For “Queue,” copy and paste from the list below based on the room number the printer is located in. The example below is for the multi-function printer in Waiting Room C (room 1720):

- WisPIC Printers:
- PSY-PR-110MFP
- PSY-PR-170PRT
- PSY-PR-1000CMFP
- PSY-PR-1202MFP
- PSY-PR-1320MFP
- PSY-PR-1400EMFP
- PSY-PR-1526PRT
- PSY-PR-1726PRT
- PSY-PR-1720MFP
- B6/593 at UW Health Hospital:
- PSY-PR-B6593MFP
- WisPIC Printers:
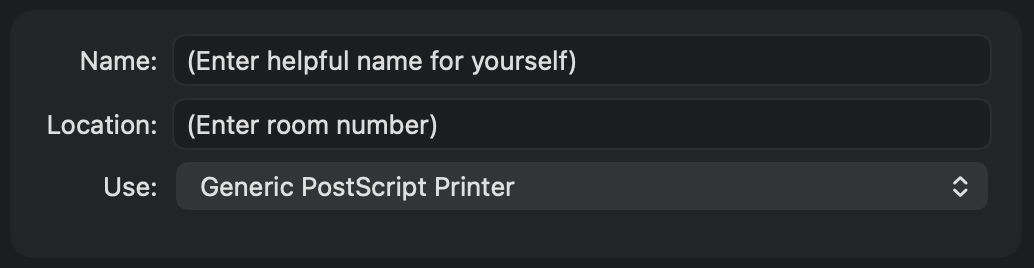
- (Recommended) Enter a personalized name and (or) room number that will help you remember the printer, and then select Generic PostScript Printer:
- Click Add
- In the new window, toggle on the option for duplex printing (or “Duplexer”) then click OK
After the steps above, the printer will show up in the list in “Printers & Scanners.” It is recommended to remove the old printer from the list by click it and selecting the option to remove it.
Note: you will need to save and restart the program you are trying to print a document from, as the printer will not be an option to select until the app is restarted.
If you encounter any problems. Please signs into the Navigator Portal to start a General Support Request. Please include the PSY-Name (or full serial number) of the SMPH computer.
Reminder: Printing from personal devices to common printers is not supported or permitted
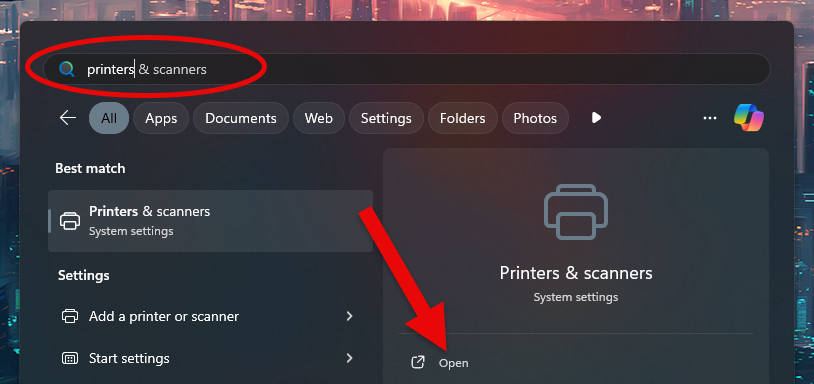
- Click the Windows icon in the task bar:

- Type printers into the search field, then click open, as shown next:
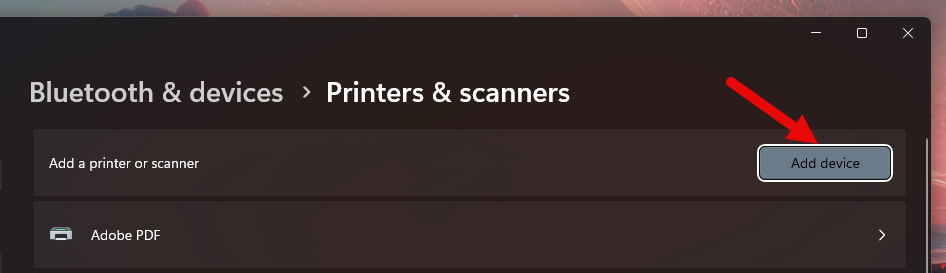
- Click Add device.
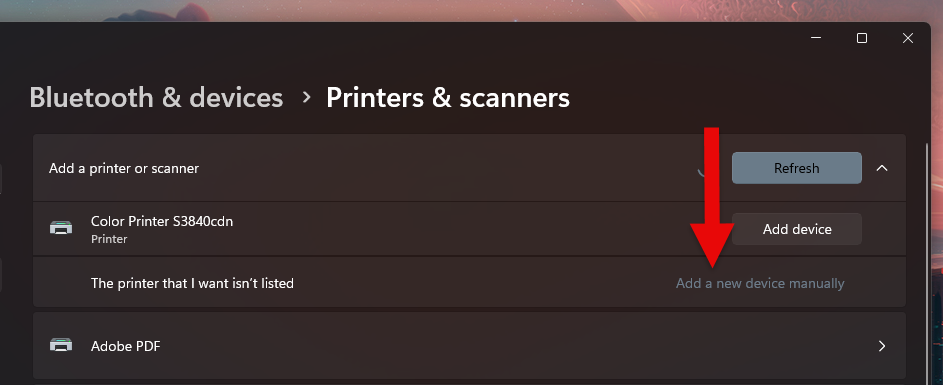
- Click Add a new device manually.
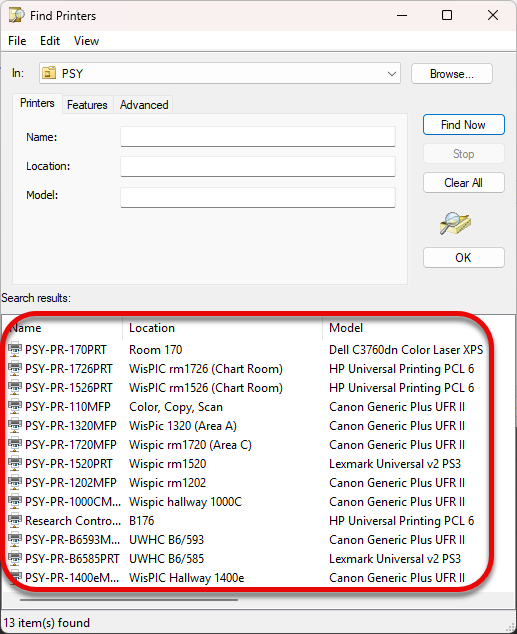
- Select the 2nd option from the top, which is titled “Find a printer in the directory, based on location or feature.”
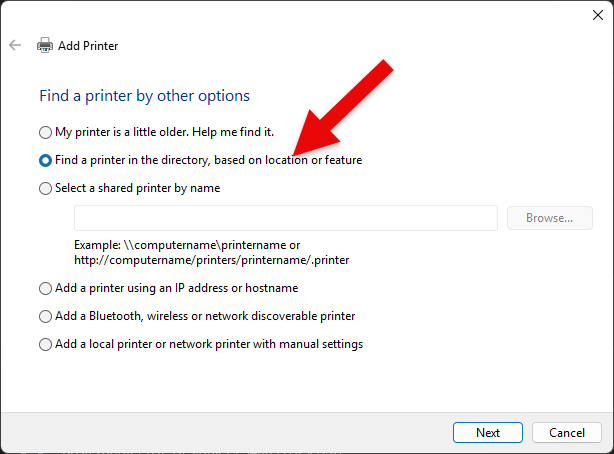
- Click Next.
- Find and double-click the printer you need from the area shown below:
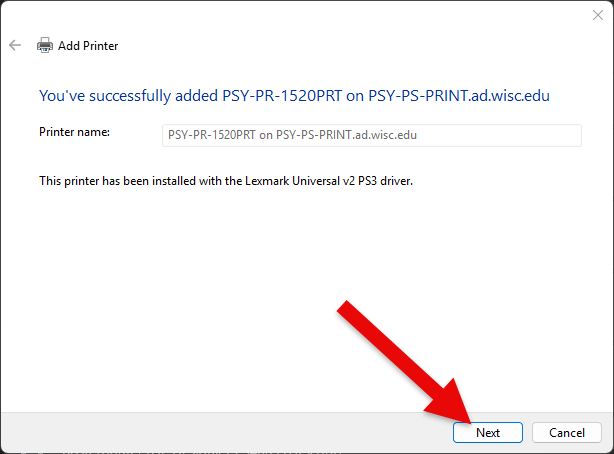
- In the next screen, click Next to finish adding the printer.
- Verify the printer you want is installed in Settings (program): Bluetooth & devices > Printers & scanners.